Documentation Index
Fetch the complete documentation index at: https://infisical-shubham-eng-984-make-secret-sharing-public-even-f.mintlify.app/llms.txt
Use this file to discover all available pages before exploring further.
- Usage
- Self-Hosted Setup
Connect with OAuth2
Connect with OAuth2
Prerequisites:
- Set up and add envars to Infisical Cloud
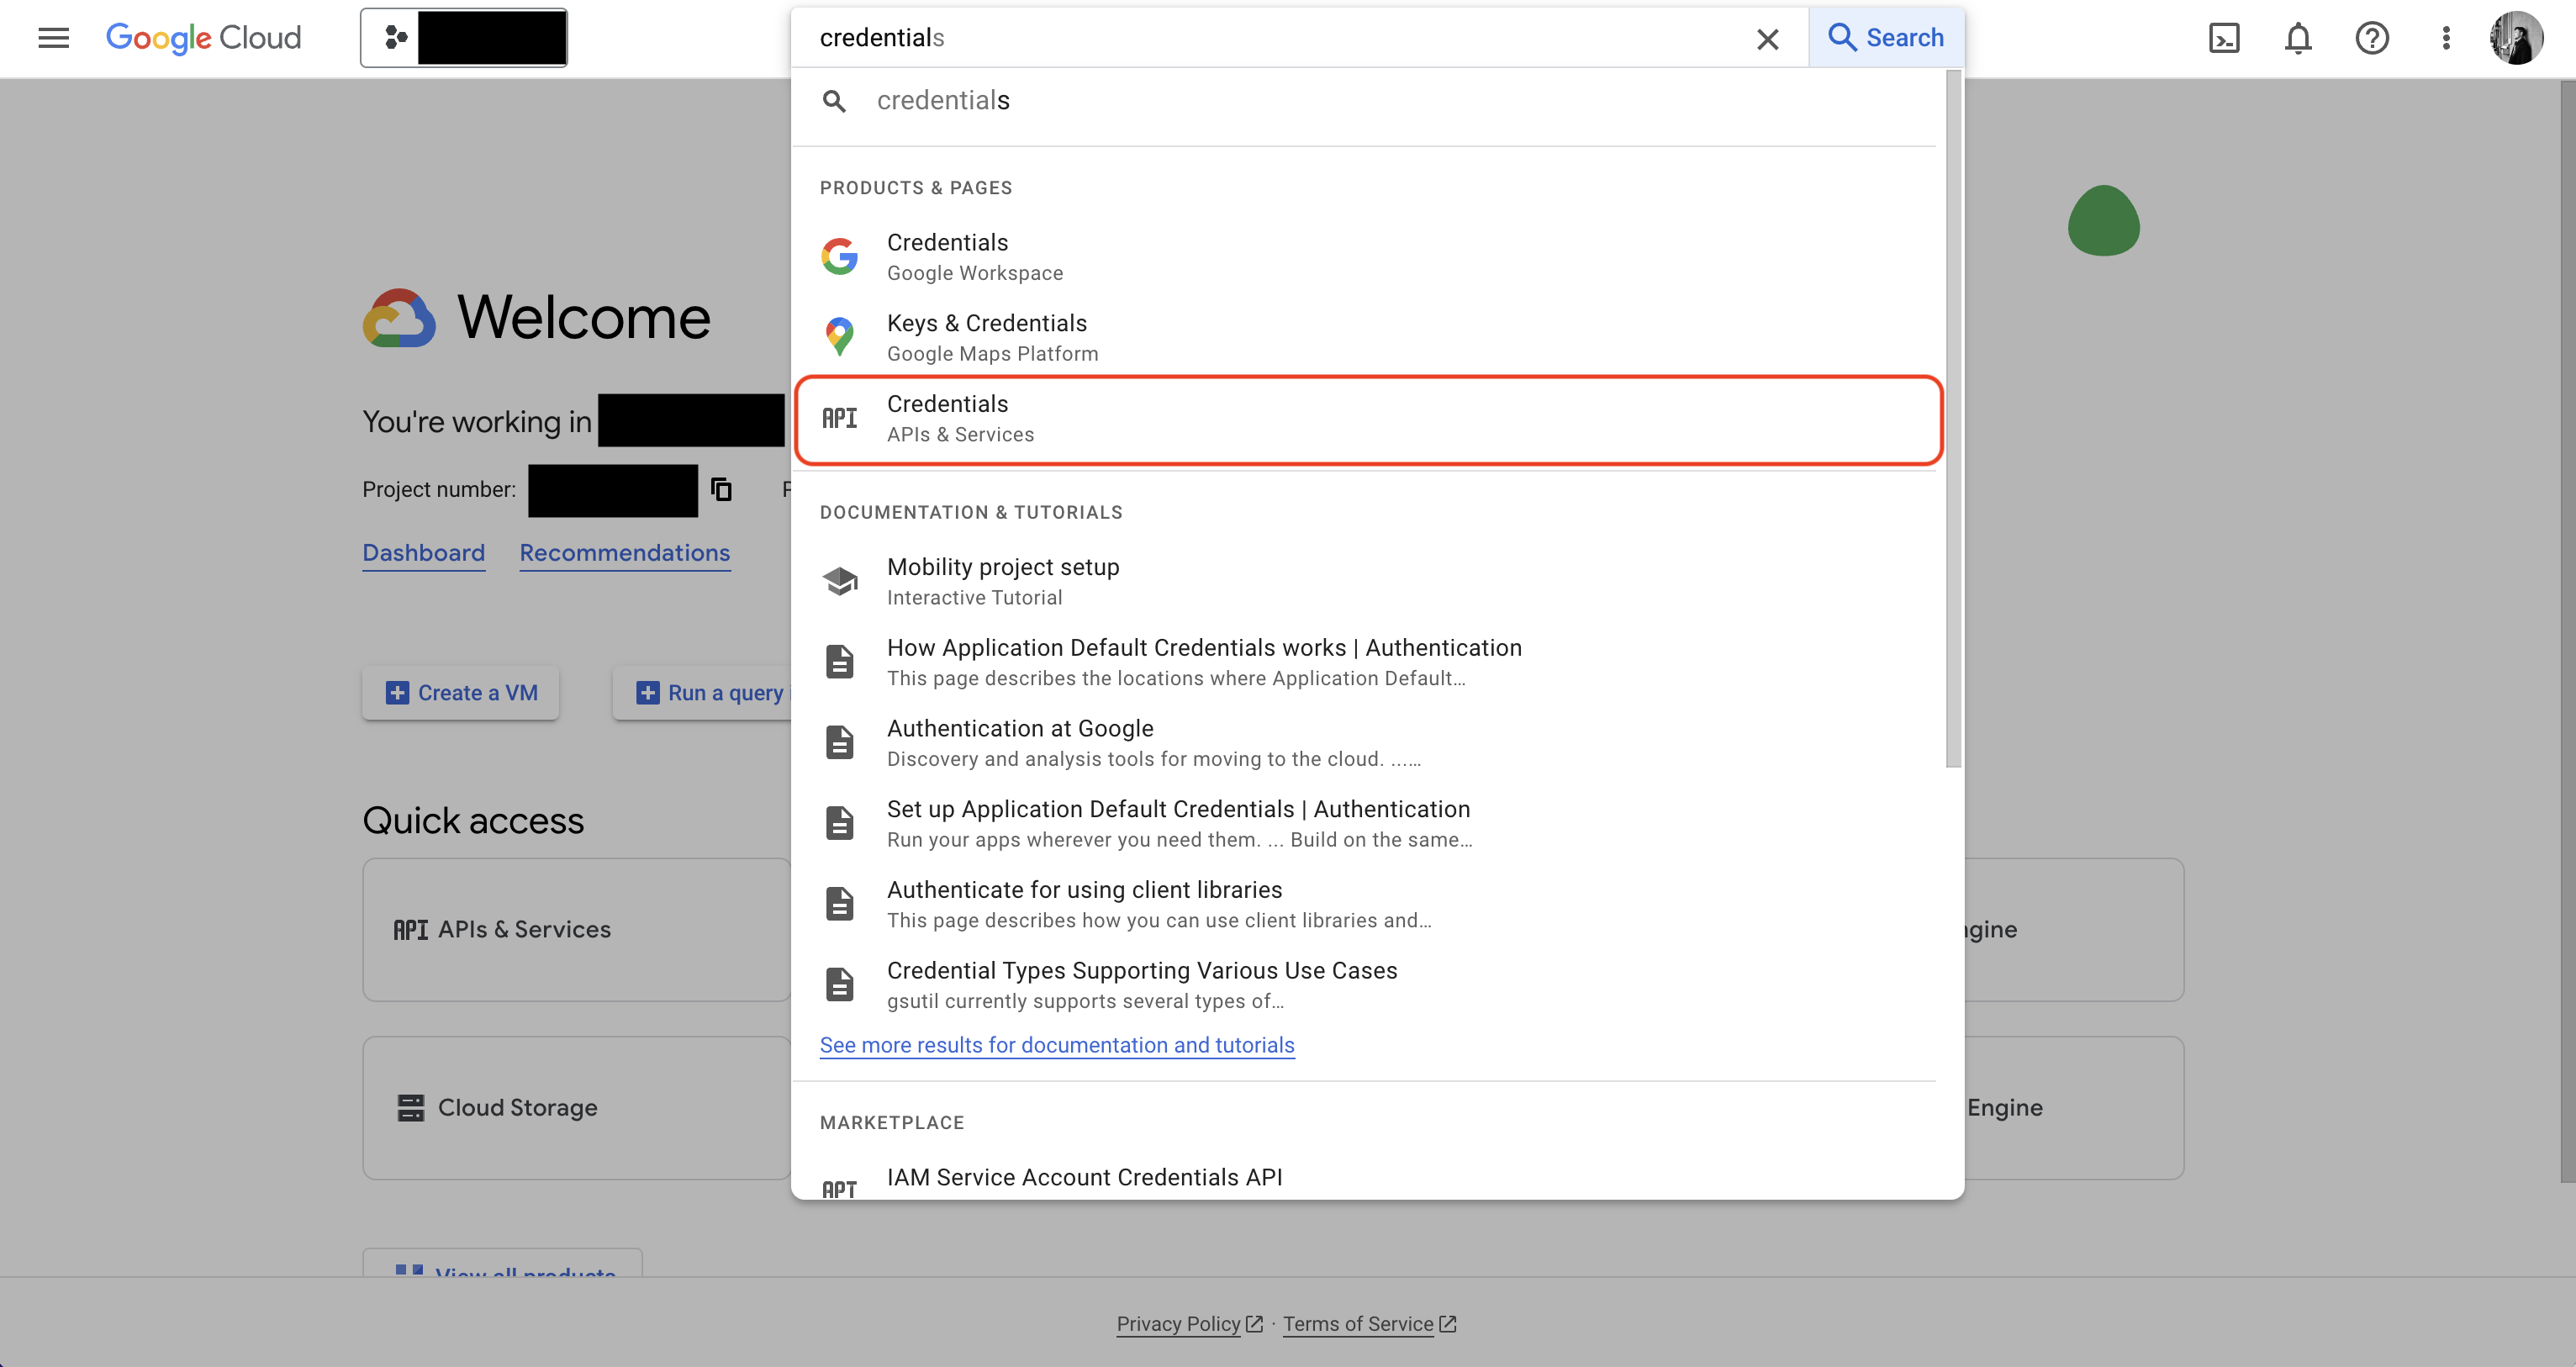
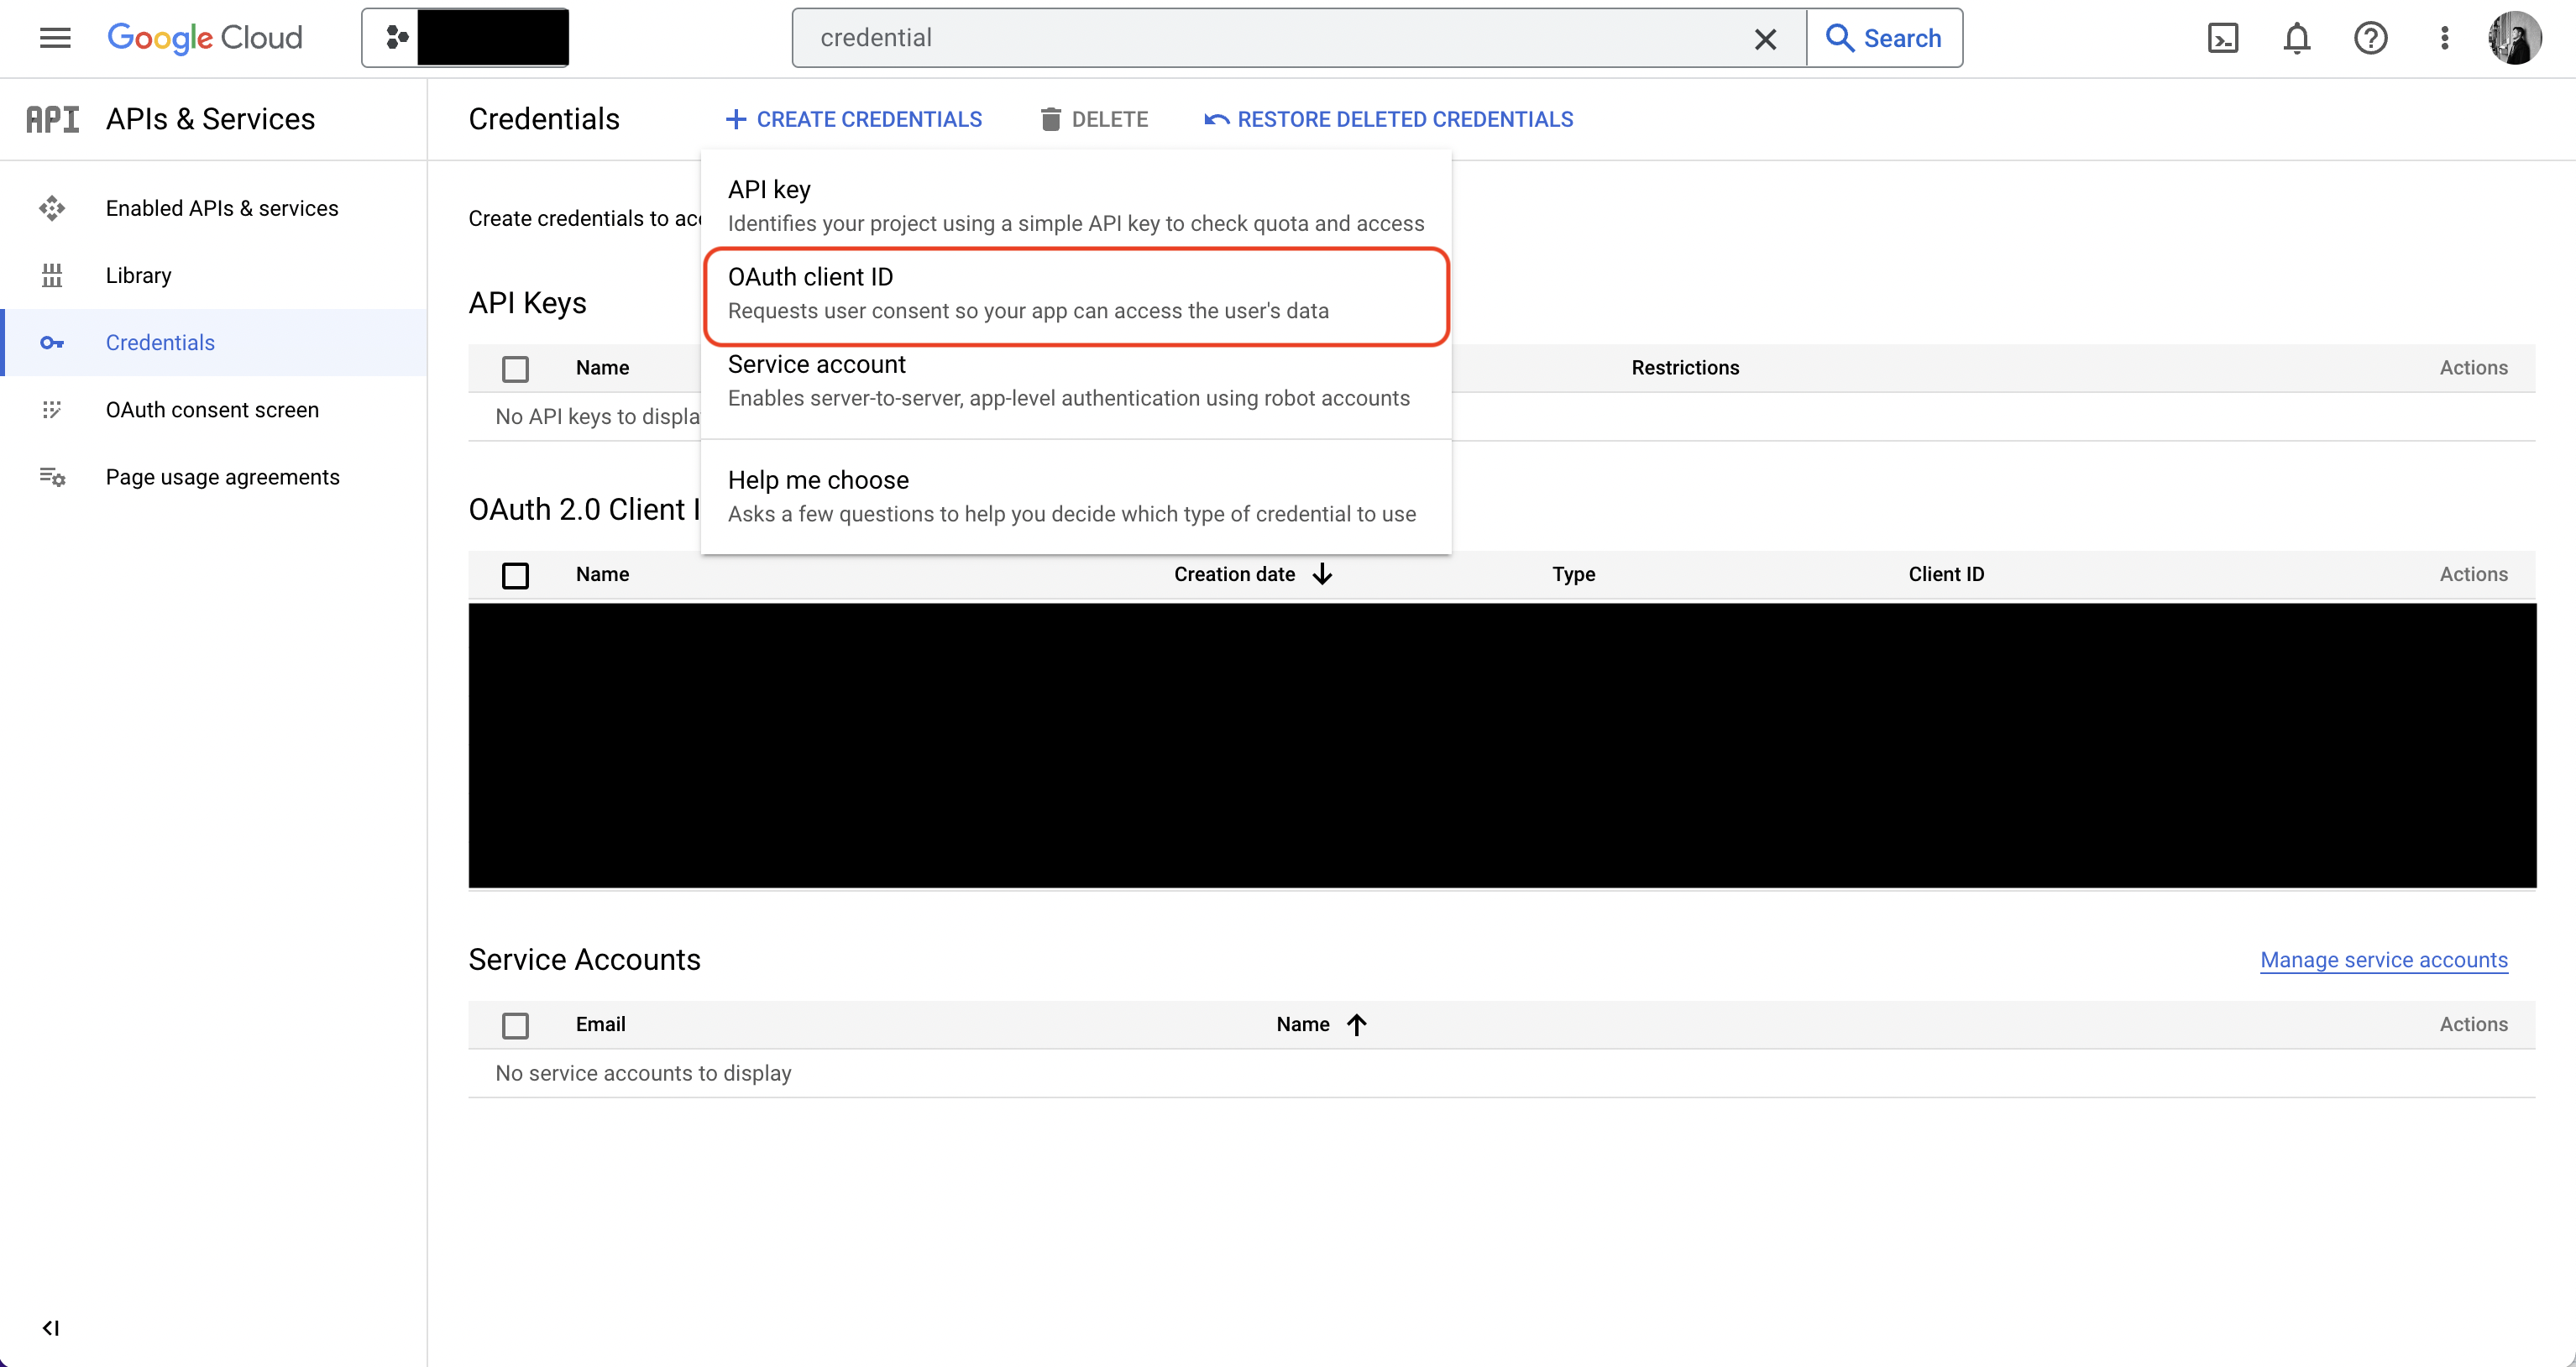
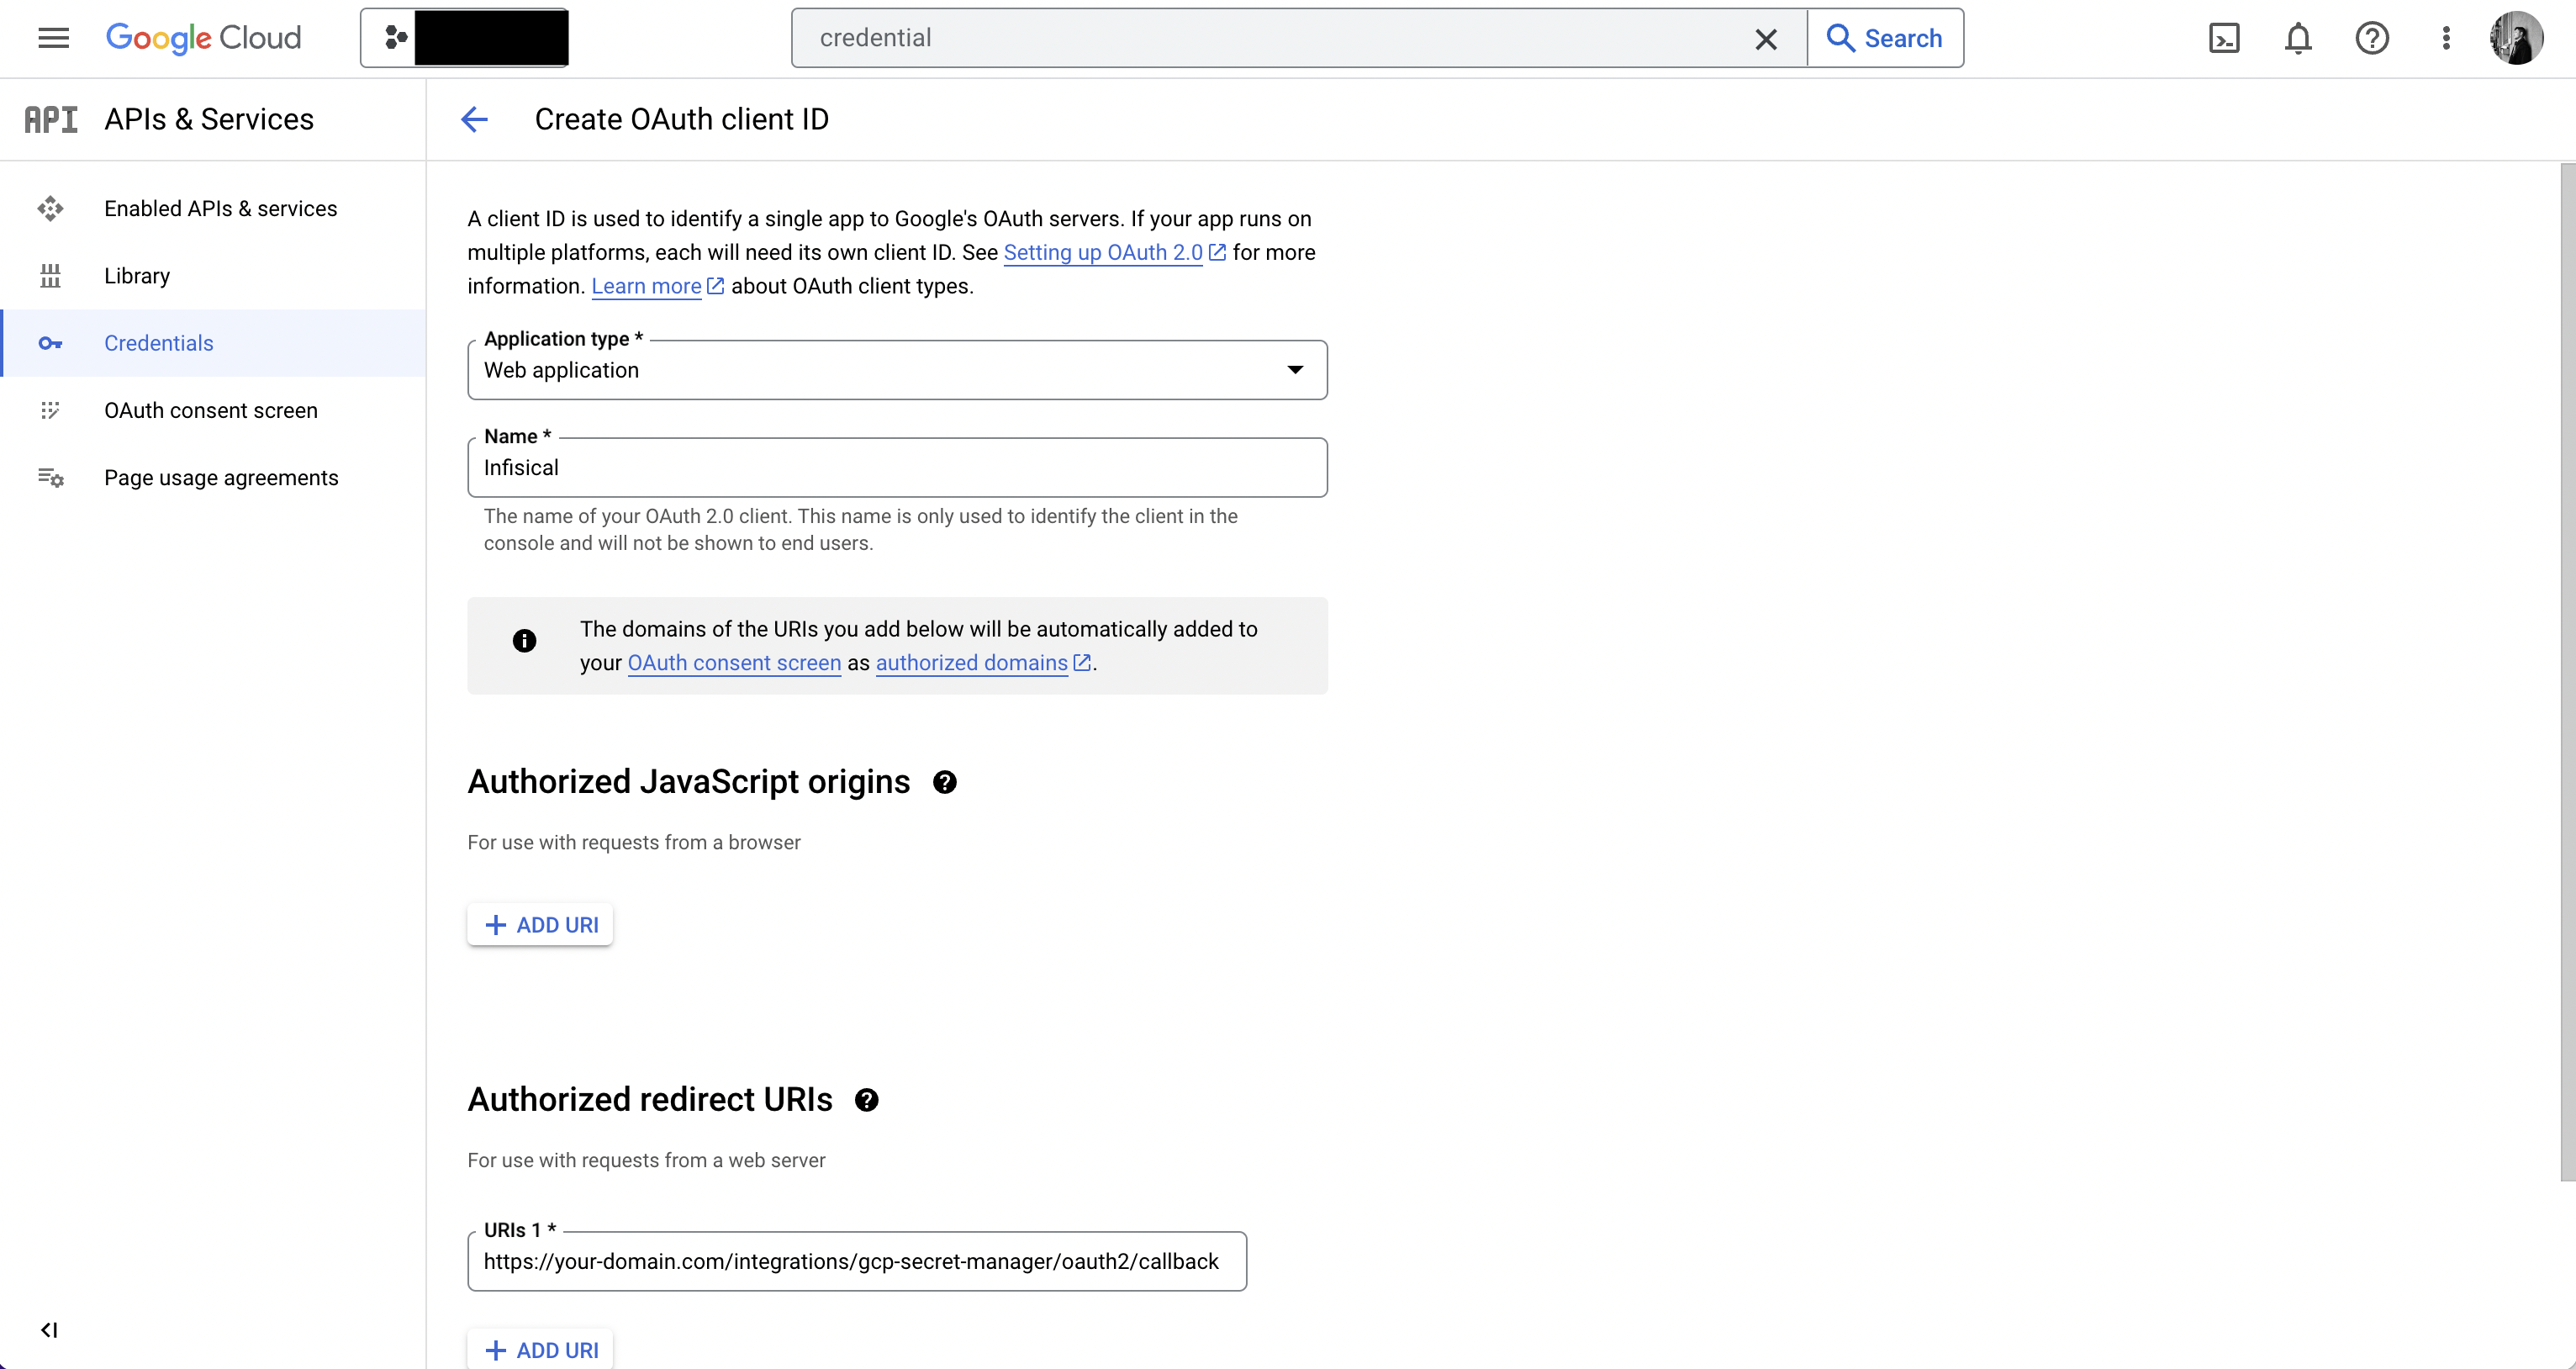
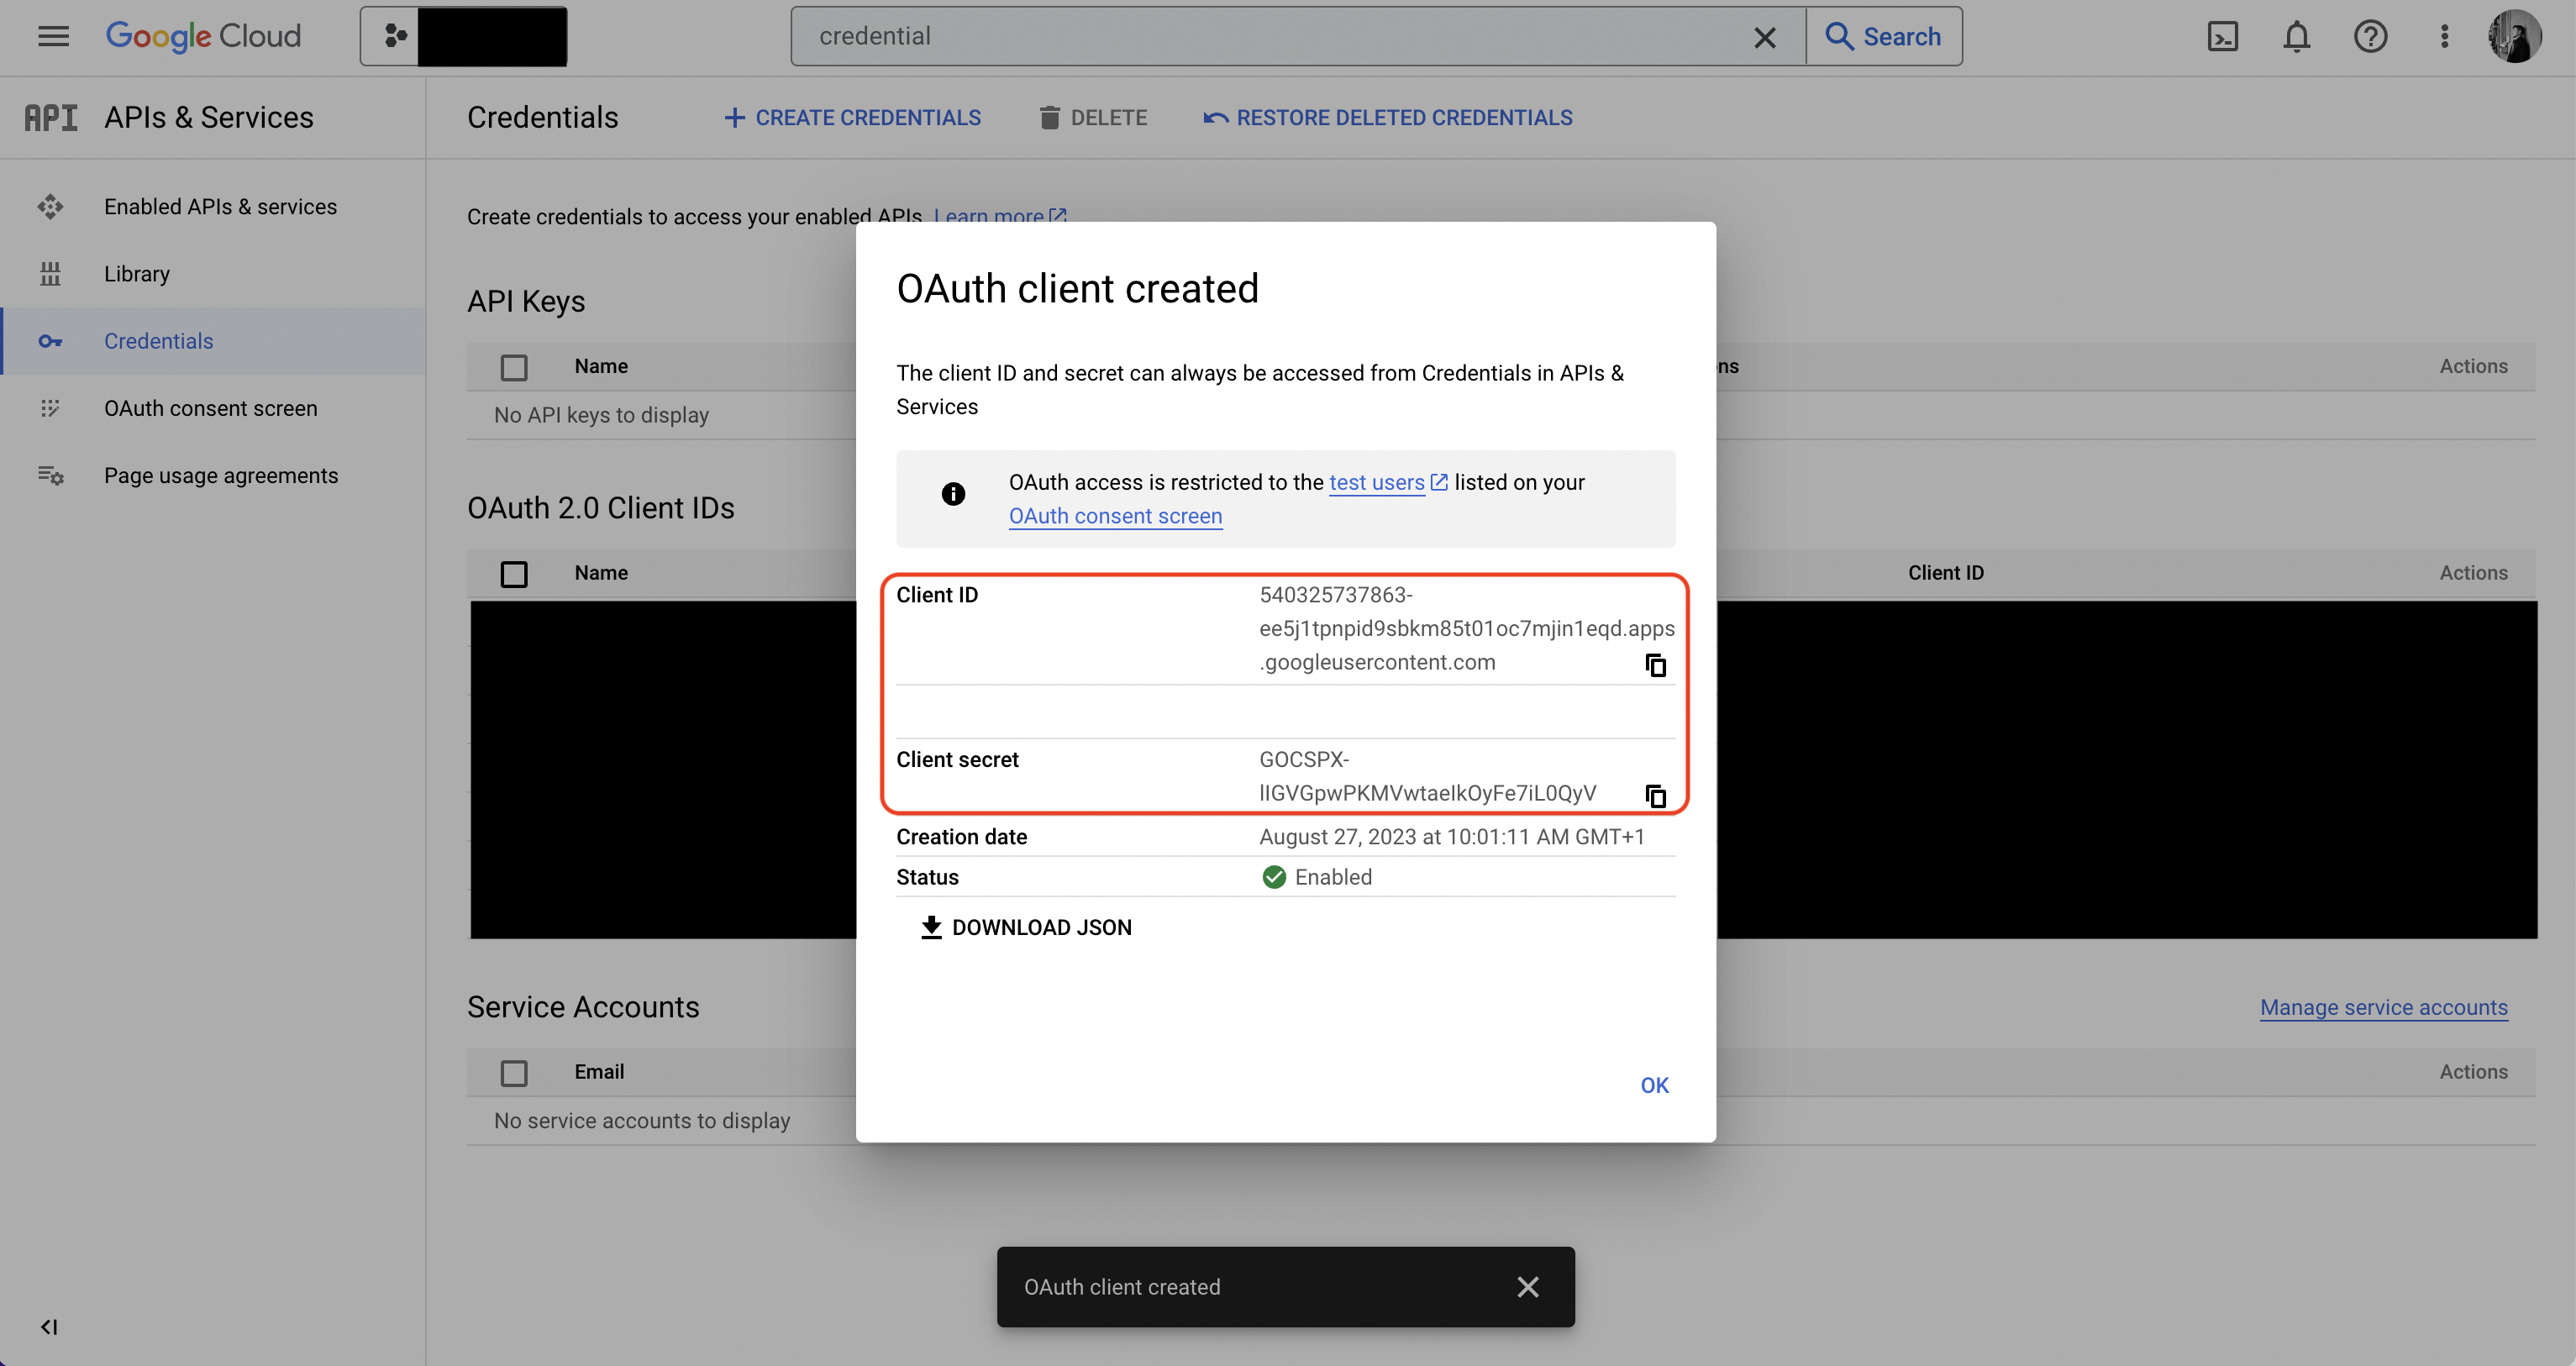
Authorize Infisical for GCP
Navigate to your project’s integrations tab in Infisical. Press on the GCP Secret Manager tile and select Continue with OAuth
 Grant Infisical access to GCP.
Press on the GCP Secret Manager tile and select Continue with OAuthGrant Infisical access to GCP.If this is your project’s first cloud integration, then you’ll have to grant
Infisical access to your project’s environment variables. Although this step
breaks E2EE, it’s necessary for Infisical to sync the environment variables to
the cloud platform.
Start integration
In the Connection tab, select which Infisical environment secrets you want to sync to which GCP secret manager project. Lastly, press create integration to start syncing secrets to GCP secret manager. Note that the GCP Secret Manager integration supports a few options in the Options tab:

Note that the GCP Secret Manager integration supports a few options in the Options tab:- Secret Prefix: If inputted, the prefix is appended to the front of every secret name prior to being synced.
- Secret Suffix: If inputted, the suffix to appended to the back of every name of every secret prior to being synced.
- Label in GCP Secret Manager: If selected, every secret will be labeled in GCP Secret Manager (e.g. as
managed-by:infisical); labels can be customized.
Connect with Service Account JSON
Connect with Service Account JSON
Prerequisites:
- Set up and add envars to Infisical Cloud
- Have a GCP project and have/create a service account in it
Authorize Infisical for GCP
Navigate to IAM & Admin page in GCP and add the Secret Manager Admin and Service Usage Admin roles to the service account. Navigate to your project’s integrations tab in Infisical.Press on the GCP Secret Manager tile and paste in your GCP Service Account JSON (you can create and download the JSON for your
service account in IAM & Admin > Service Accounts > Service Account > Keys).
Navigate to your project’s integrations tab in Infisical.Press on the GCP Secret Manager tile and paste in your GCP Service Account JSON (you can create and download the JSON for your
service account in IAM & Admin > Service Accounts > Service Account > Keys).
For enhanced security, you may want to assign more granular permissions to the service account. At minimum,
the service account should be able to read/write secrets from/to GCP Secret Manager (e.g. Secret Manager Admin role)
and list which GCP services are enabled/disabled (e.g. Service Usage Admin role).
Press on the GCP Secret Manager tile and paste in your GCP Service Account JSON (you can create and download the JSON for your
service account in IAM & Admin > Service Accounts > Service Account > Keys).If this is your project’s first cloud integration, then you’ll have to grant
Infisical access to your project’s environment variables. Although this step
breaks E2EE, it’s necessary for Infisical to sync the environment variables to
the cloud platform.
Start integration
In the Connection tab, select which Infisical environment secrets you want to sync to the GCP secret manager project. Lastly, press create integration to start syncing secrets to GCP secret manager.Note that the GCP Secret Manager integration supports a few options in the Options tab:
Note that the GCP Secret Manager integration supports a few options in the Options tab:- Secret Prefix: If inputted, the prefix is appended to the front of every secret name prior to being synced.
- Secret Suffix: If inputted, the suffix to appended to the back of every name of every secret prior to being synced.
- Label in GCP Secret Manager: If selected, every secret will be labeled in GCP Secret Manager (e.g. as
managed-by:infisical); labels can be customized.