Objective: Fetch secrets from Infisical to Jenkins pipelines In this guide, we’ll outline the steps to deliver secrets from Infisical to Jenkins via the Infisical CLI. At a high level, the Infisical CLI will be executed within your build environment and use a machine identity to authenticate with Infisical. This token must be added as a Jenkins Credential and then passed to the Infisical CLI as an environment variable, enabling it to access and retrieve secrets within your workflows. Prerequisites:Documentation Index
Fetch the complete documentation index at: https://infisical-shubham-eng-984-make-secret-sharing-public-even-f.mintlify.app/llms.txt
Use this file to discover all available pages before exploring further.
- Set up and add secrets to Infisical.
- Create a machine identity (Recommended), or a service token in Infisical.
- You have a working Jenkins installation with the credentials plugin installed.
- You have the Infisical CLI installed on your Jenkins executor nodes or container images.
- Using Plugin with Machine Identities (Recommended)
- Using CLI with Service Tokens (Deprecated)
Jenkins Infisical Plugin
This plugin adds a build wrapper to set environment variables from Infisical. Secrets are generally masked in the build log, so you can’t accidentally print them.Installation
To install the plugin, navigate toManage Jenkins -> Plugins -> Available plugins and search for Infisical. Install the plugin and restart Jenkins.
Infisical Authentication
Authenticating with Infisical is done through the use of Machine Identities. Currently the Jenkins plugin only supports Universal Auth for authentication. More methods will be added soon.How does Universal Auth work?
To use Universal Auth, you’ll need to create a new Credential (Infisical Universal Auth Credential). The credential should contain your Universal Auth client ID, and your Universal Auth client secret. Please read more here on how to setup a Machine Identity to use universal auth.Creating a Universal Auth credential
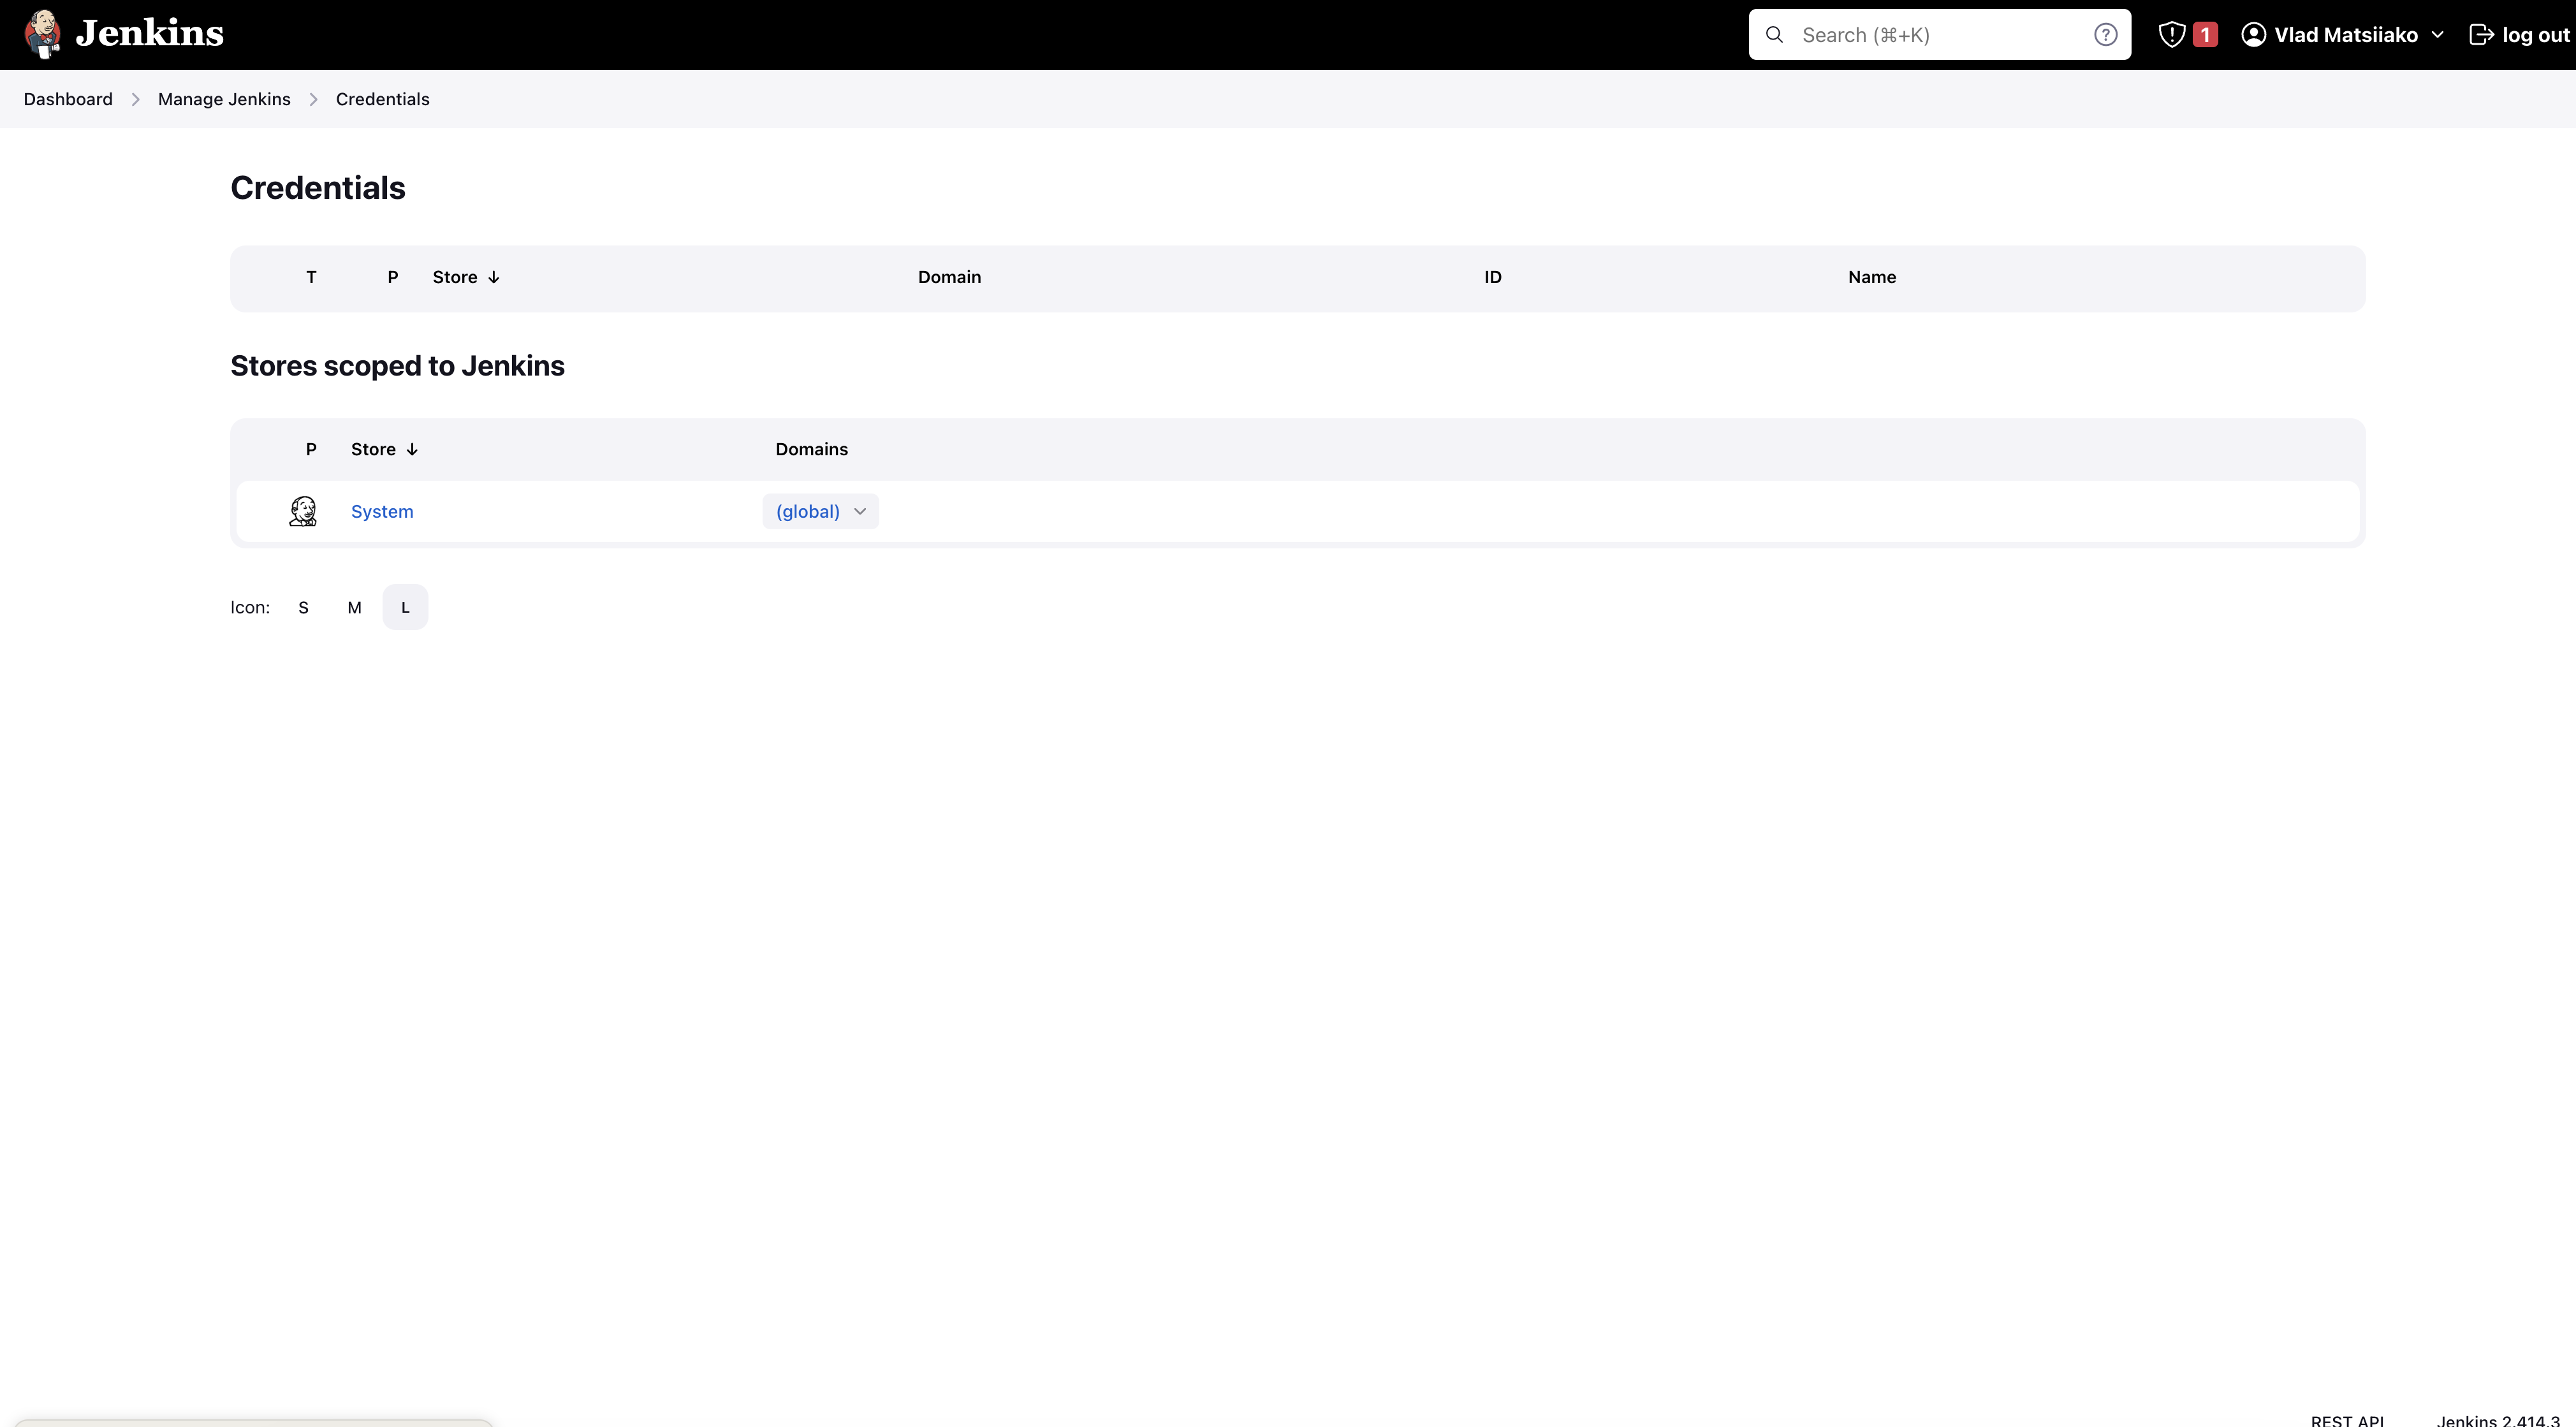
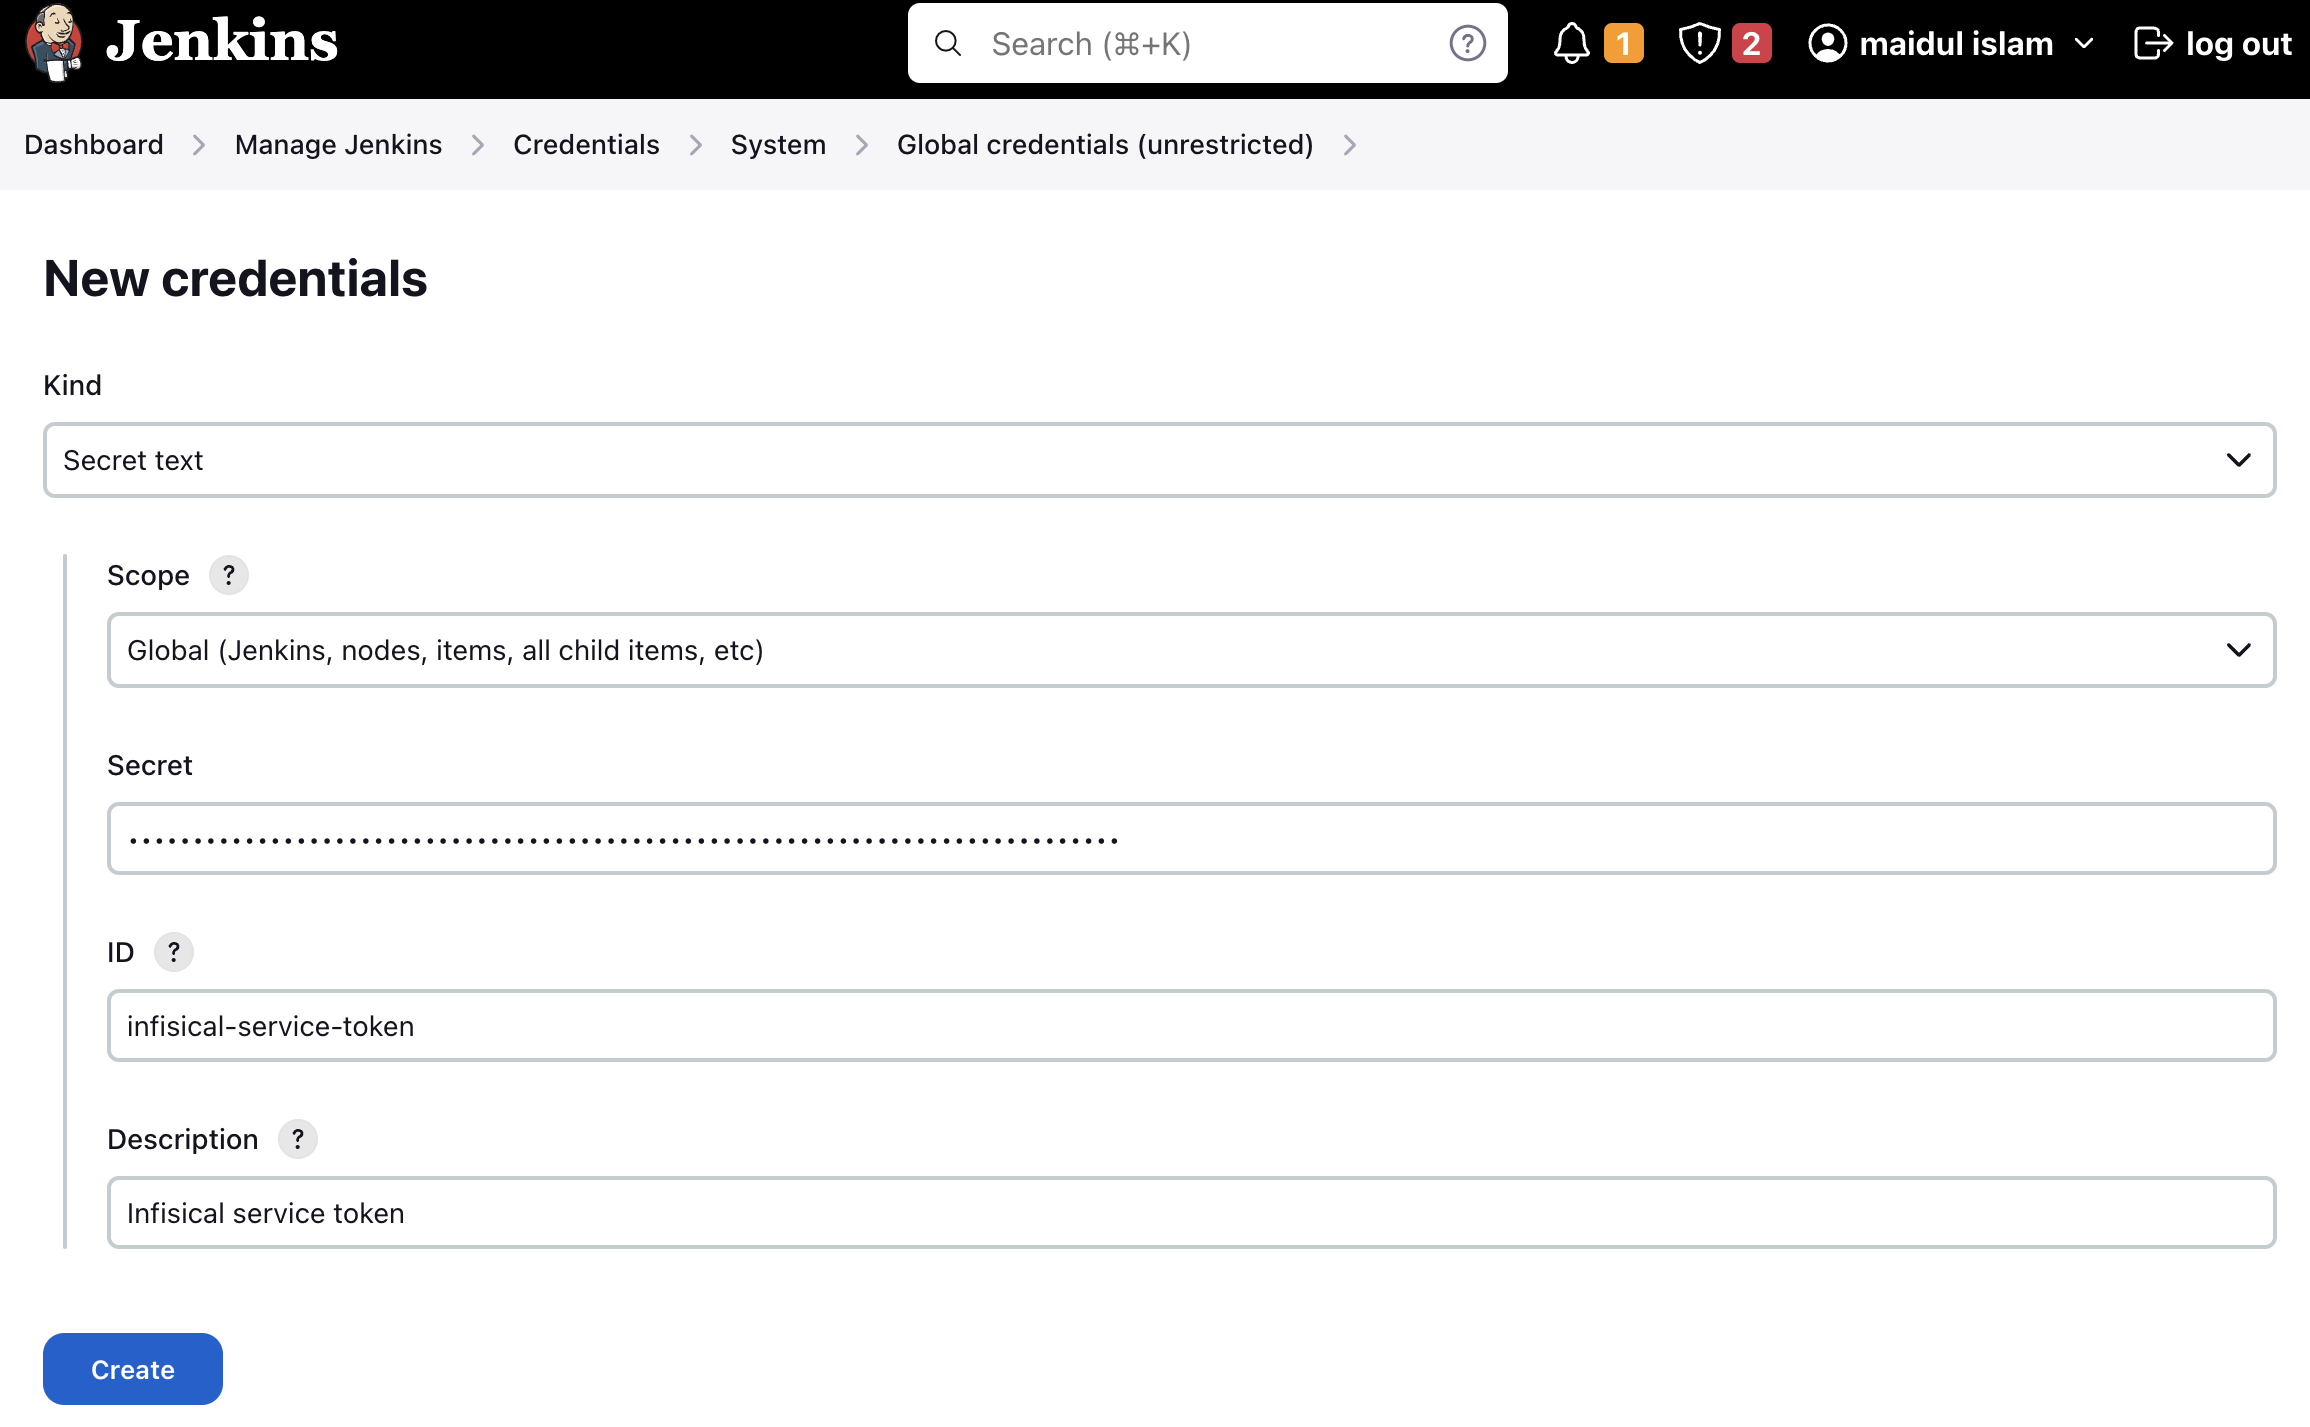
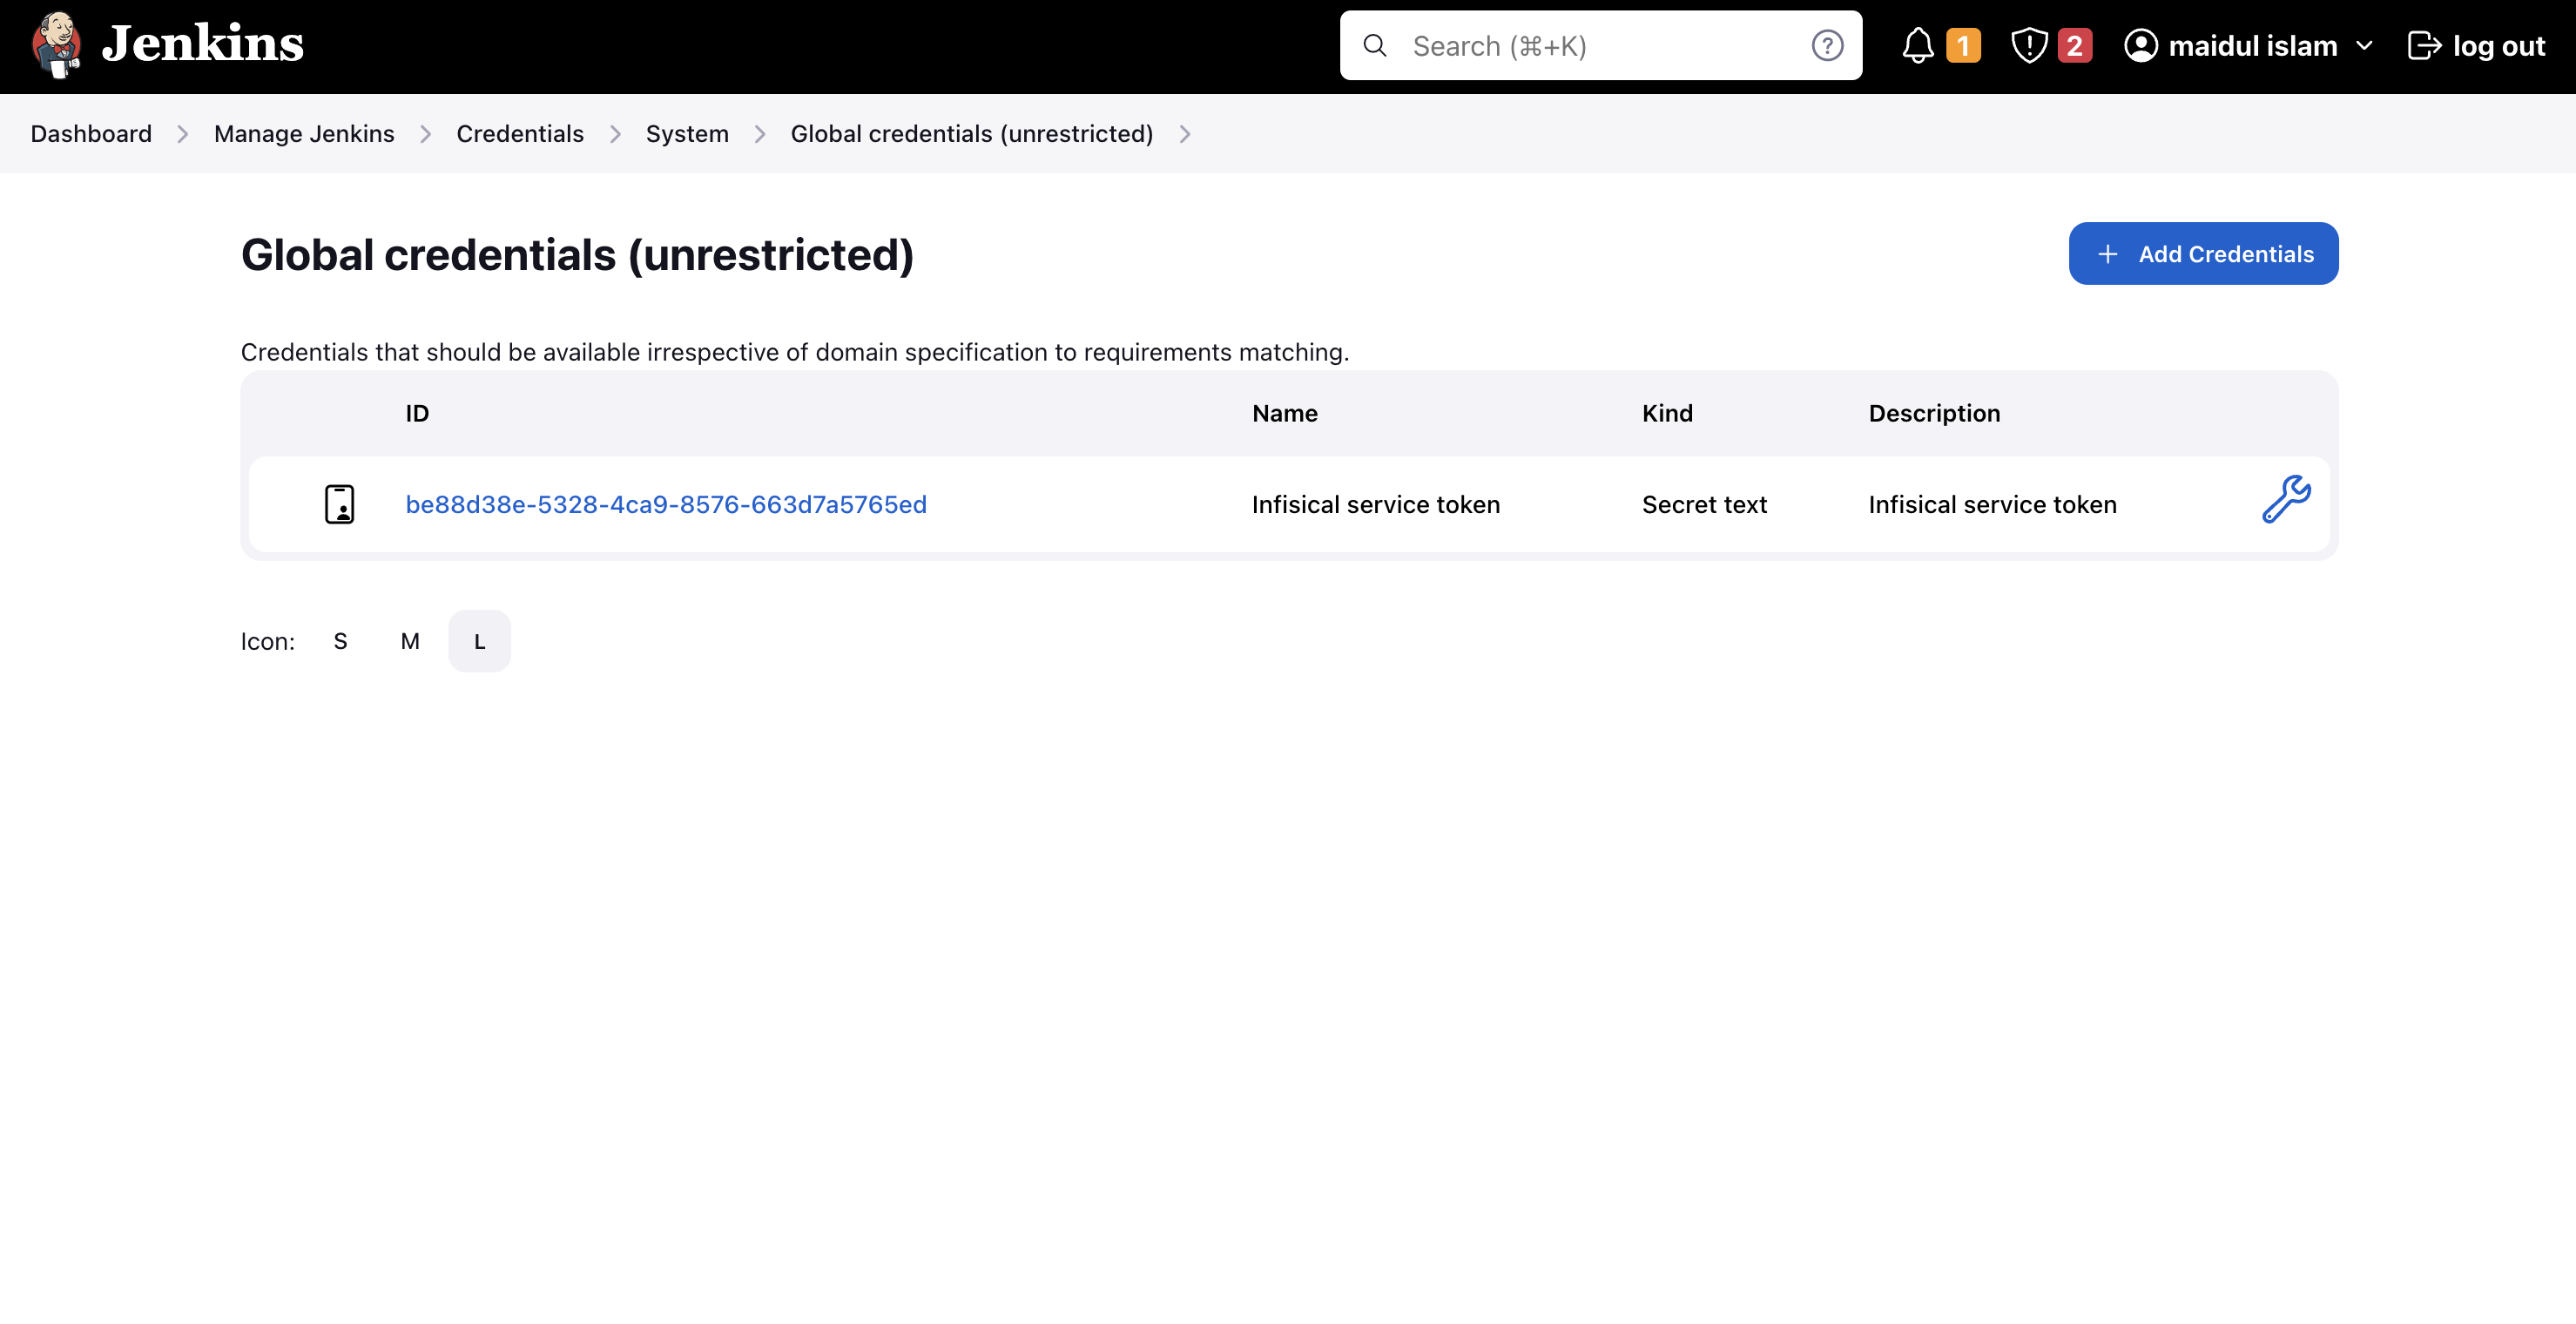
Creating a universal auth credential inside Jenkins is very straight forward.Simply navigate toDashboard -> Manage Jenkins -> Credentials -> System -> Global credentials (unrestricted).Press the Add Credentials button and select Infisical Universal Auth Credential in the Kind field.The ID and Description field doesn’t matter much in this case, as they won’t be read anywhere. The description field will be displayed as the credential name during the plugin configuration.
Plugin Usage
Configuration
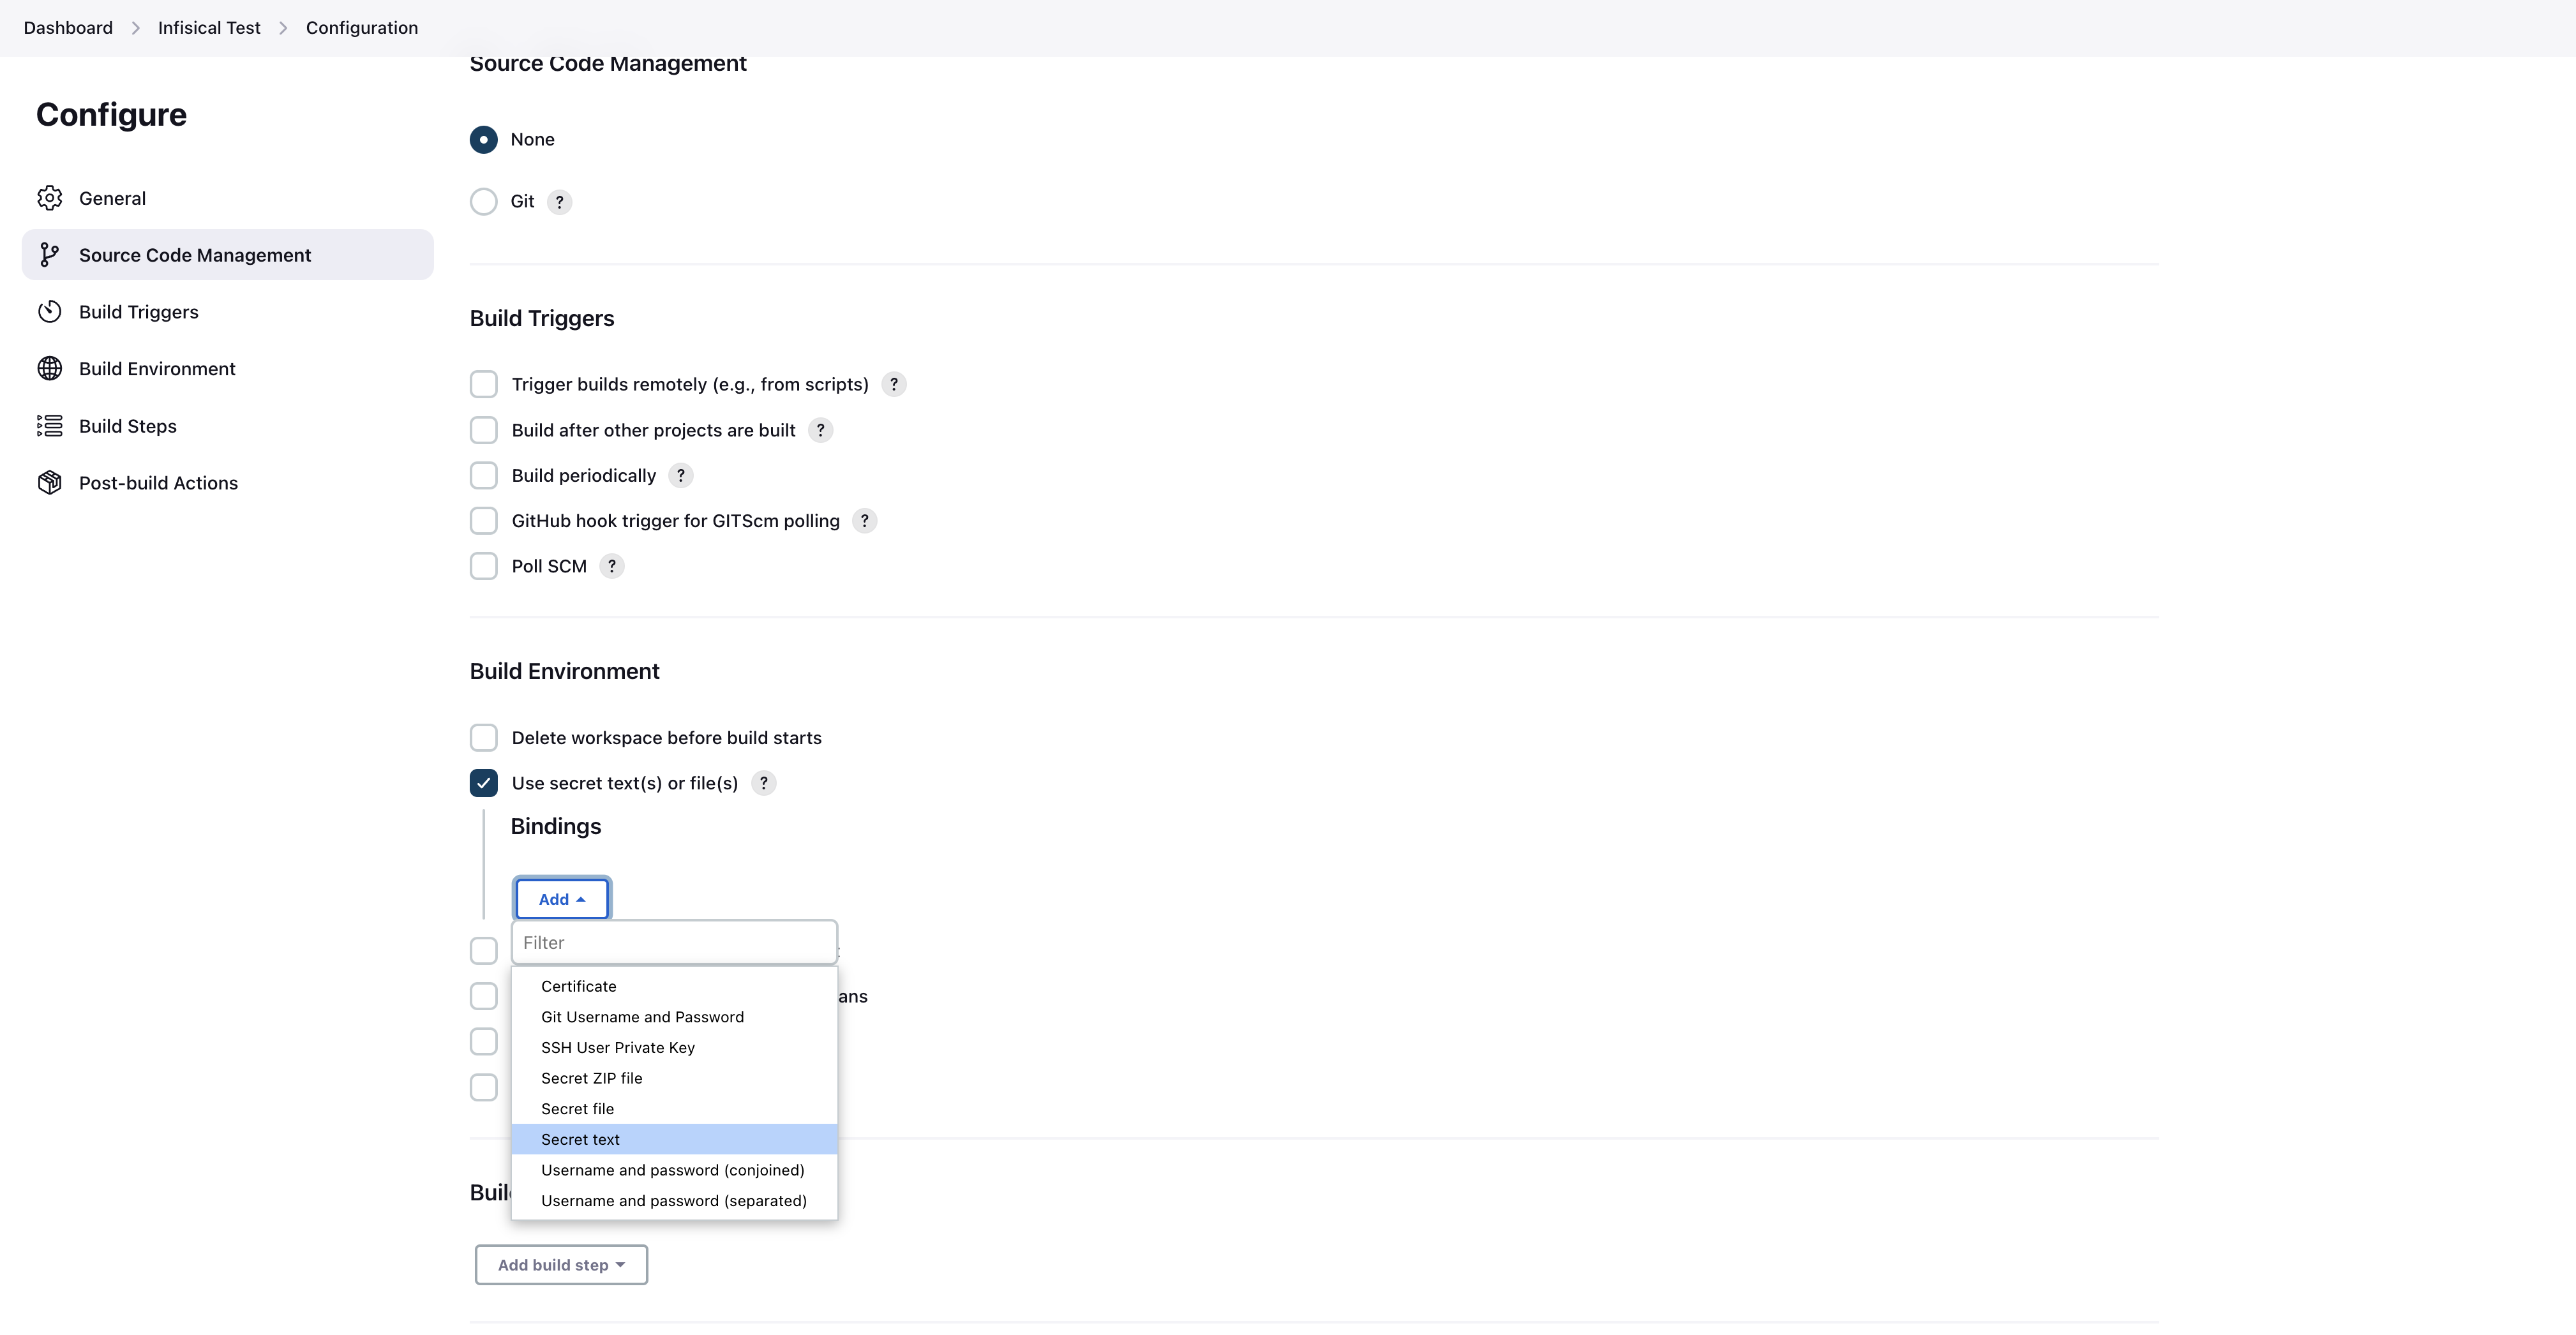
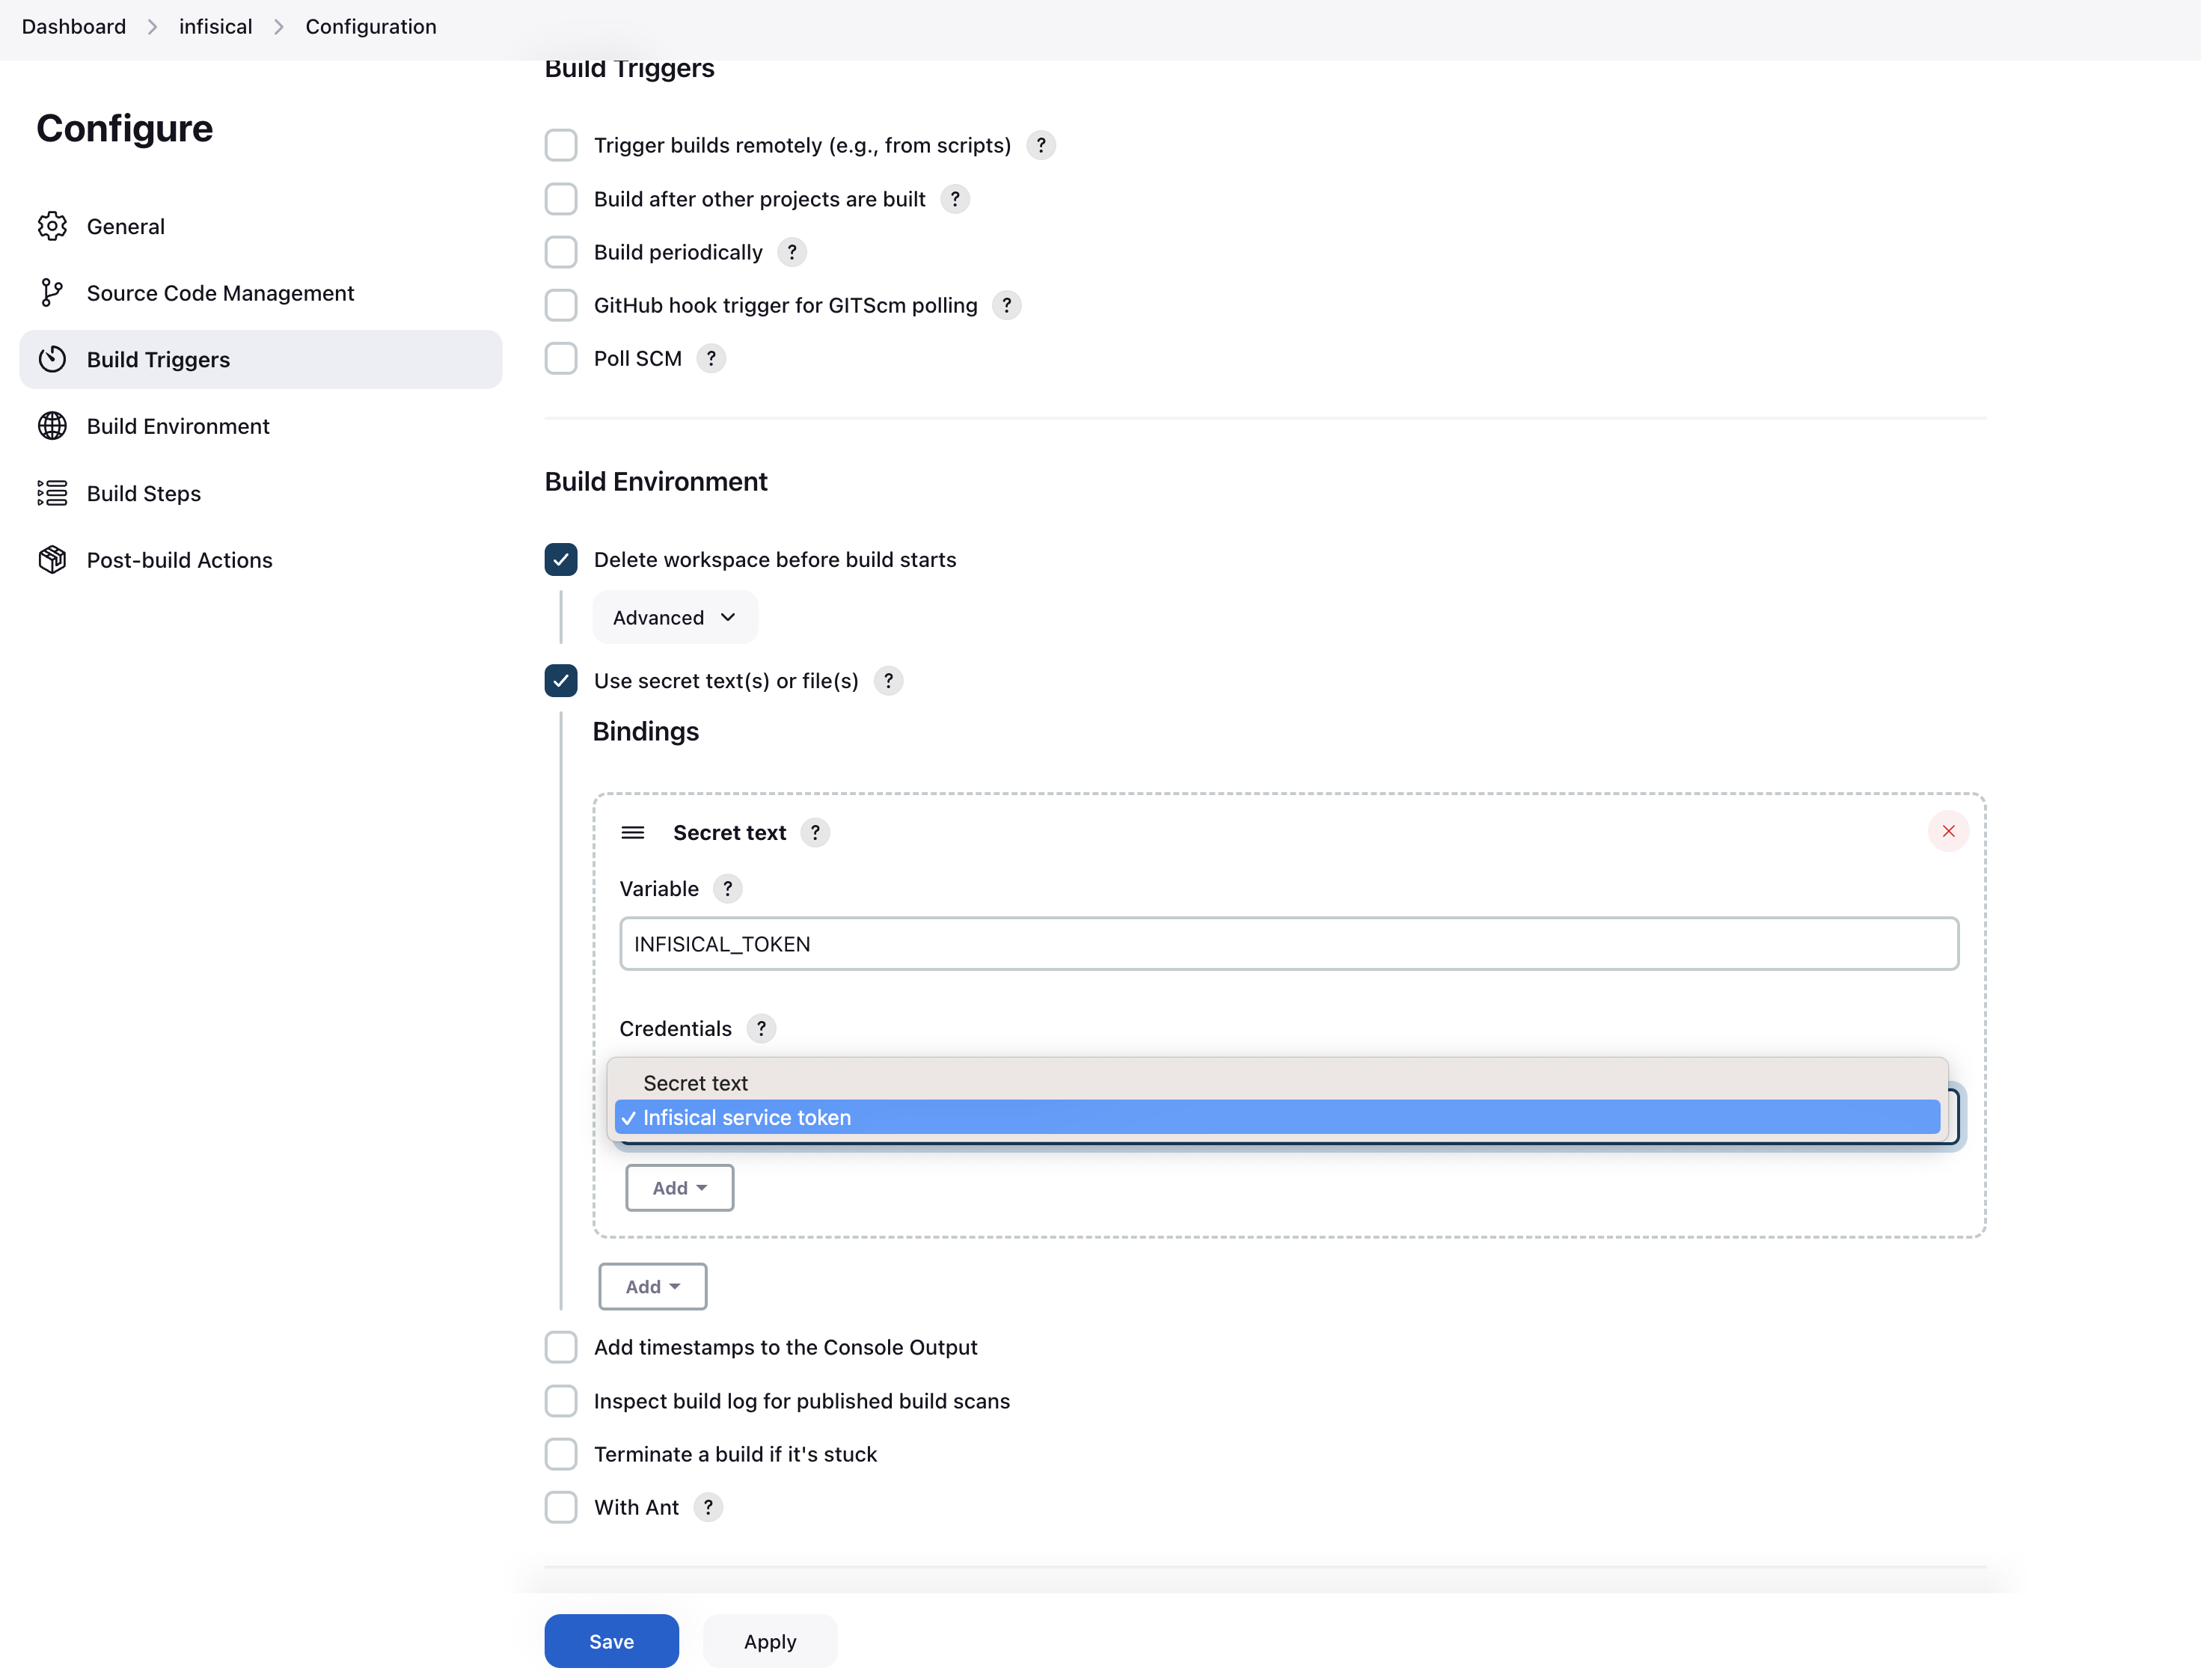
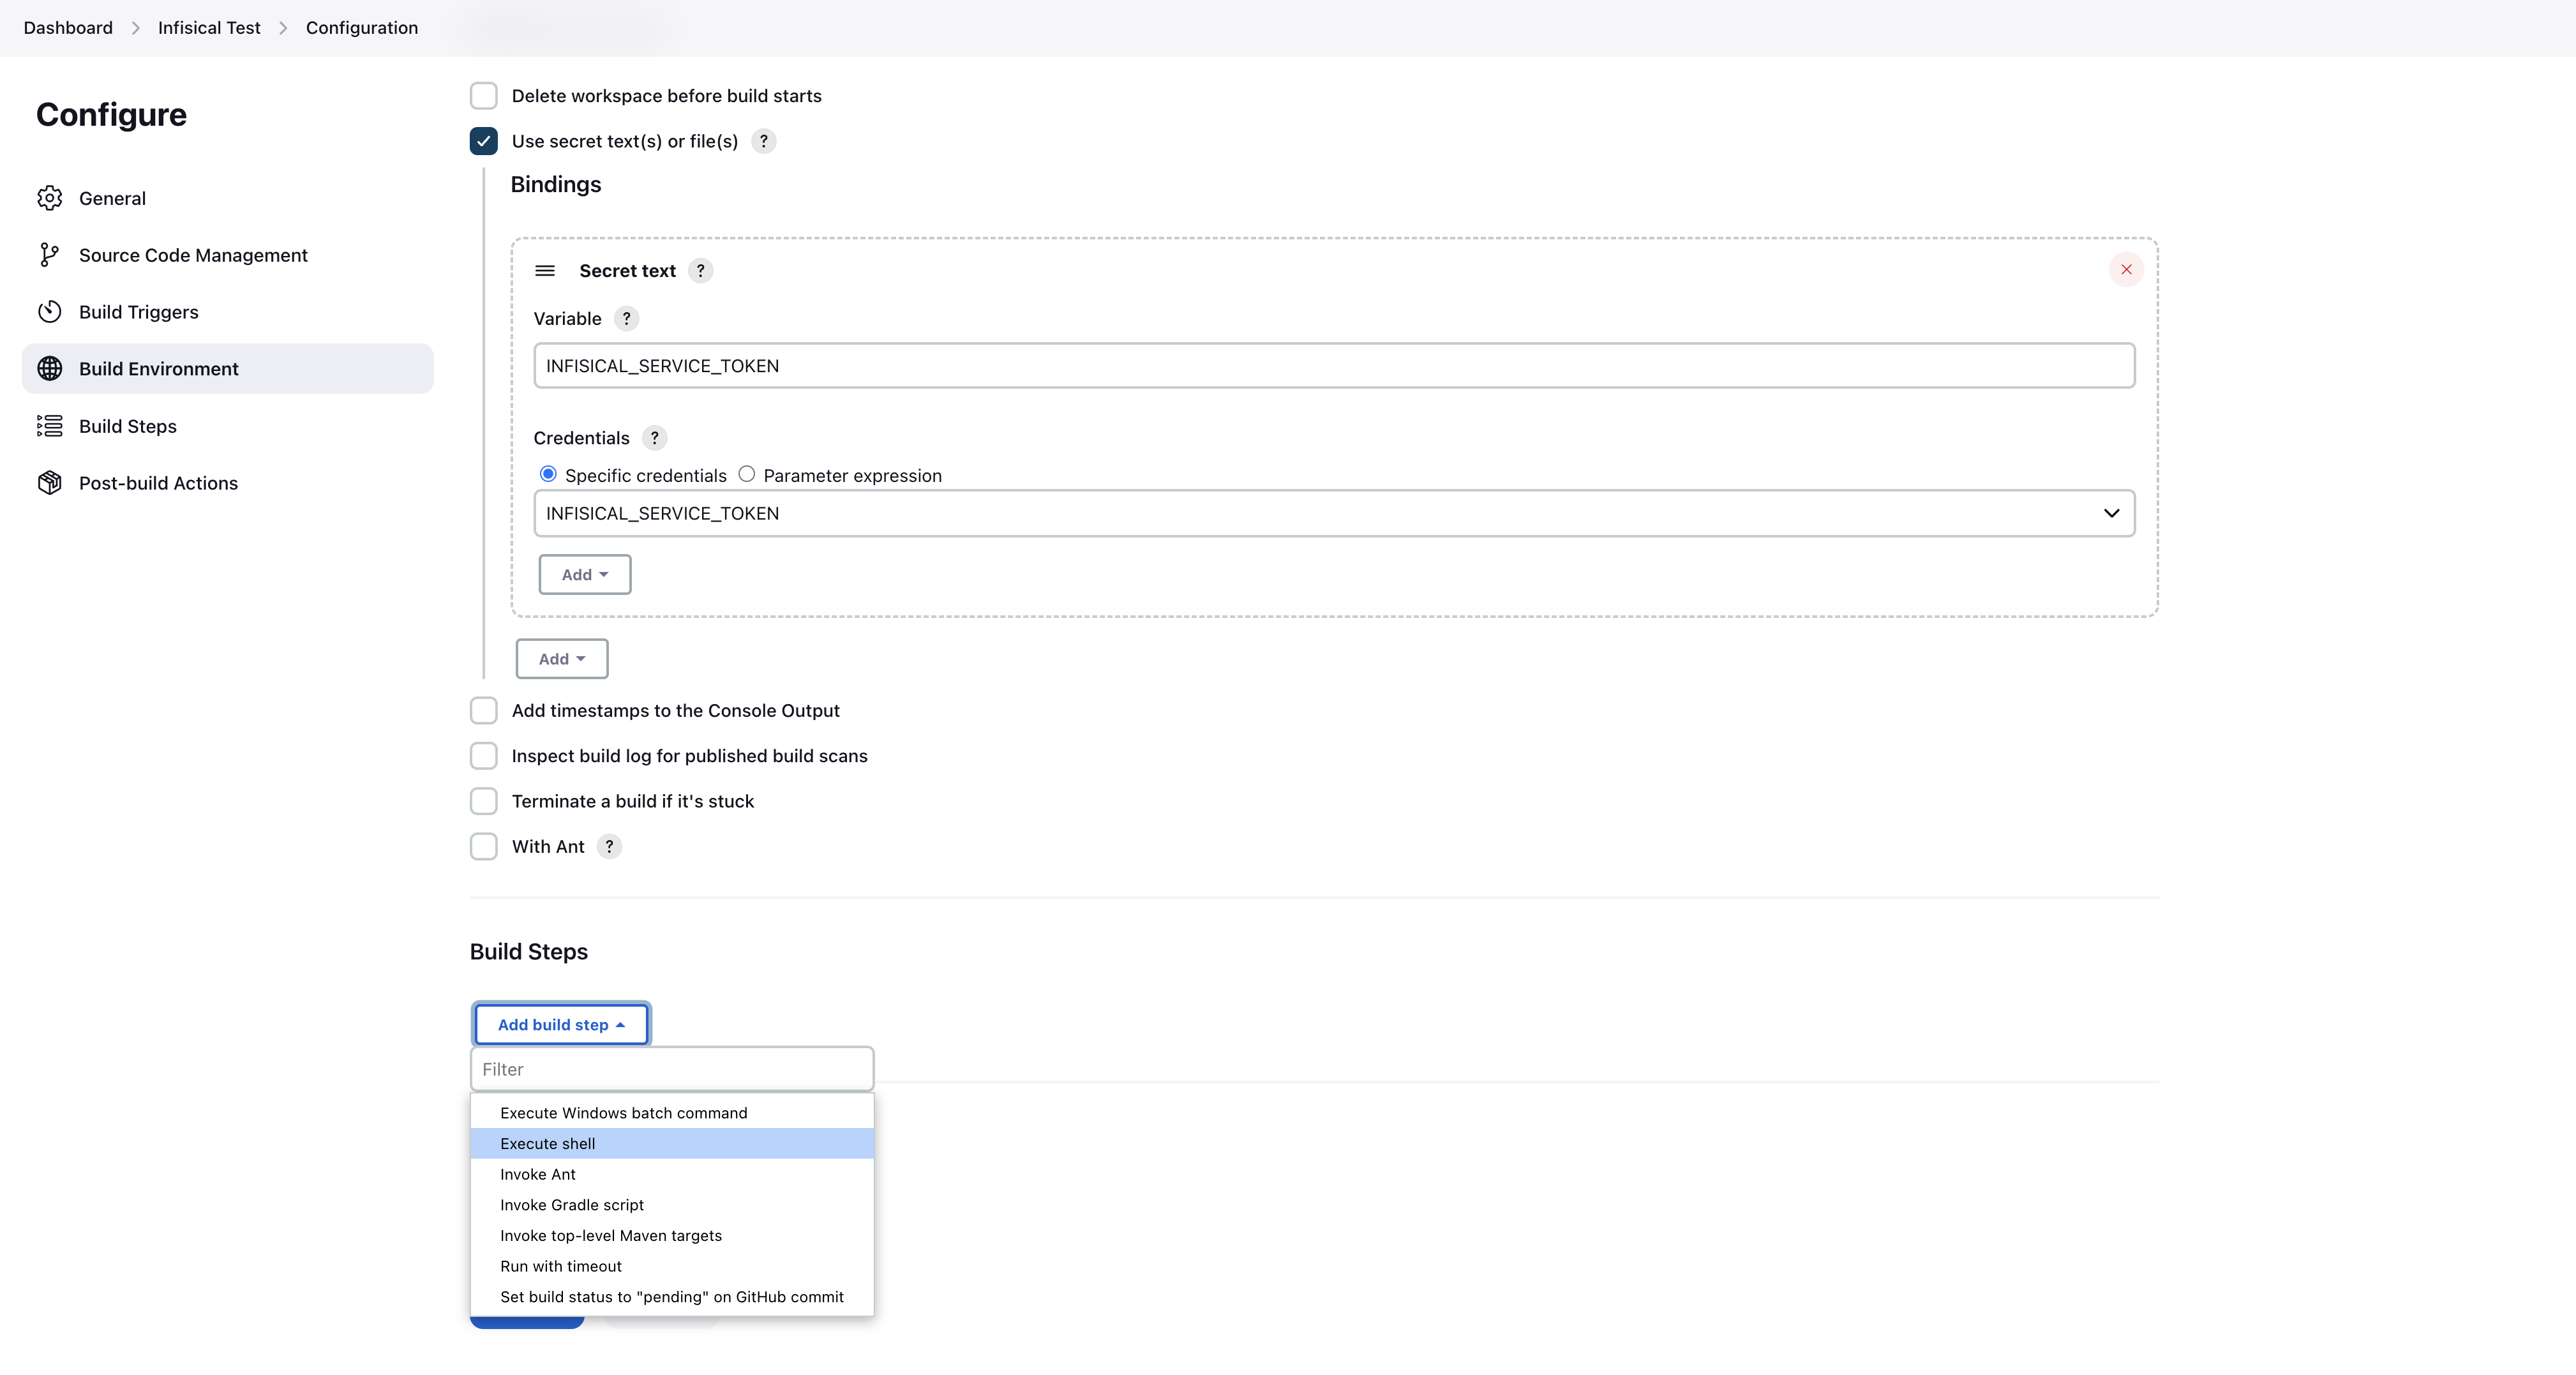
Configuration takes place on a job-level basis.Inside your job, you simply tick theInfisical Plugin checkbox under “Build Environment”. After enabling the plugin, you’ll see a new section appear where you’ll have to configure the plugin. You’ll be prompted with 4 options to fill:
- Infisical URL
- This defaults to https://app.infisical.com. This field is only relevant if you’re running a managed or self-hosted instance. If you are using Infisical Cloud, leave this as-is, otherwise enter the URL of your Infisical instance.
- Infisical Credential
- This is where you select your Infisical credential to use for authentication. In the step above Creating a Universal Auth credential, you can read on how to configure the credential. Simply select the credential you have created for this field.
- Infisical Project Slug
- This is the slug of the project you wish to fetch secrets from. You can find this in your project settings on Infisical by clicking “Copy project slug”.
- Environment Slug
- This is the slug of the environment to fetch secrets from. In most cases it’s either
dev,staging, orprod. You can however create custom environments in Infisical. If you are using custom environments, you need to enter the slug of the custom environment you wish to fetch secrets from.
- This is the slug of the environment to fetch secrets from. In most cases it’s either
Add an Infisical secret in the Jenkins UI like seen in the screenshot below. You need to select which secrets that should be pulled into Jenkins.
You start by specifying a folder path from Infisical. The root path is simply
You need to select which secrets that should be pulled into Jenkins.
You start by specifying a folder path from Infisical. The root path is simply /. You also need to select wether or not you want to include imports. Now you can add secrets the secret keys that you want to pull from Infisical into Jenkins. If you want to add multiple secrets, press the “Add key/value pair”.If you wish to pull secrets from multiple paths, you can press the “Add an Infisical secret” button at the bottom, and configure a new set of secrets to pull.Pipeline usage
Generating pipeline block
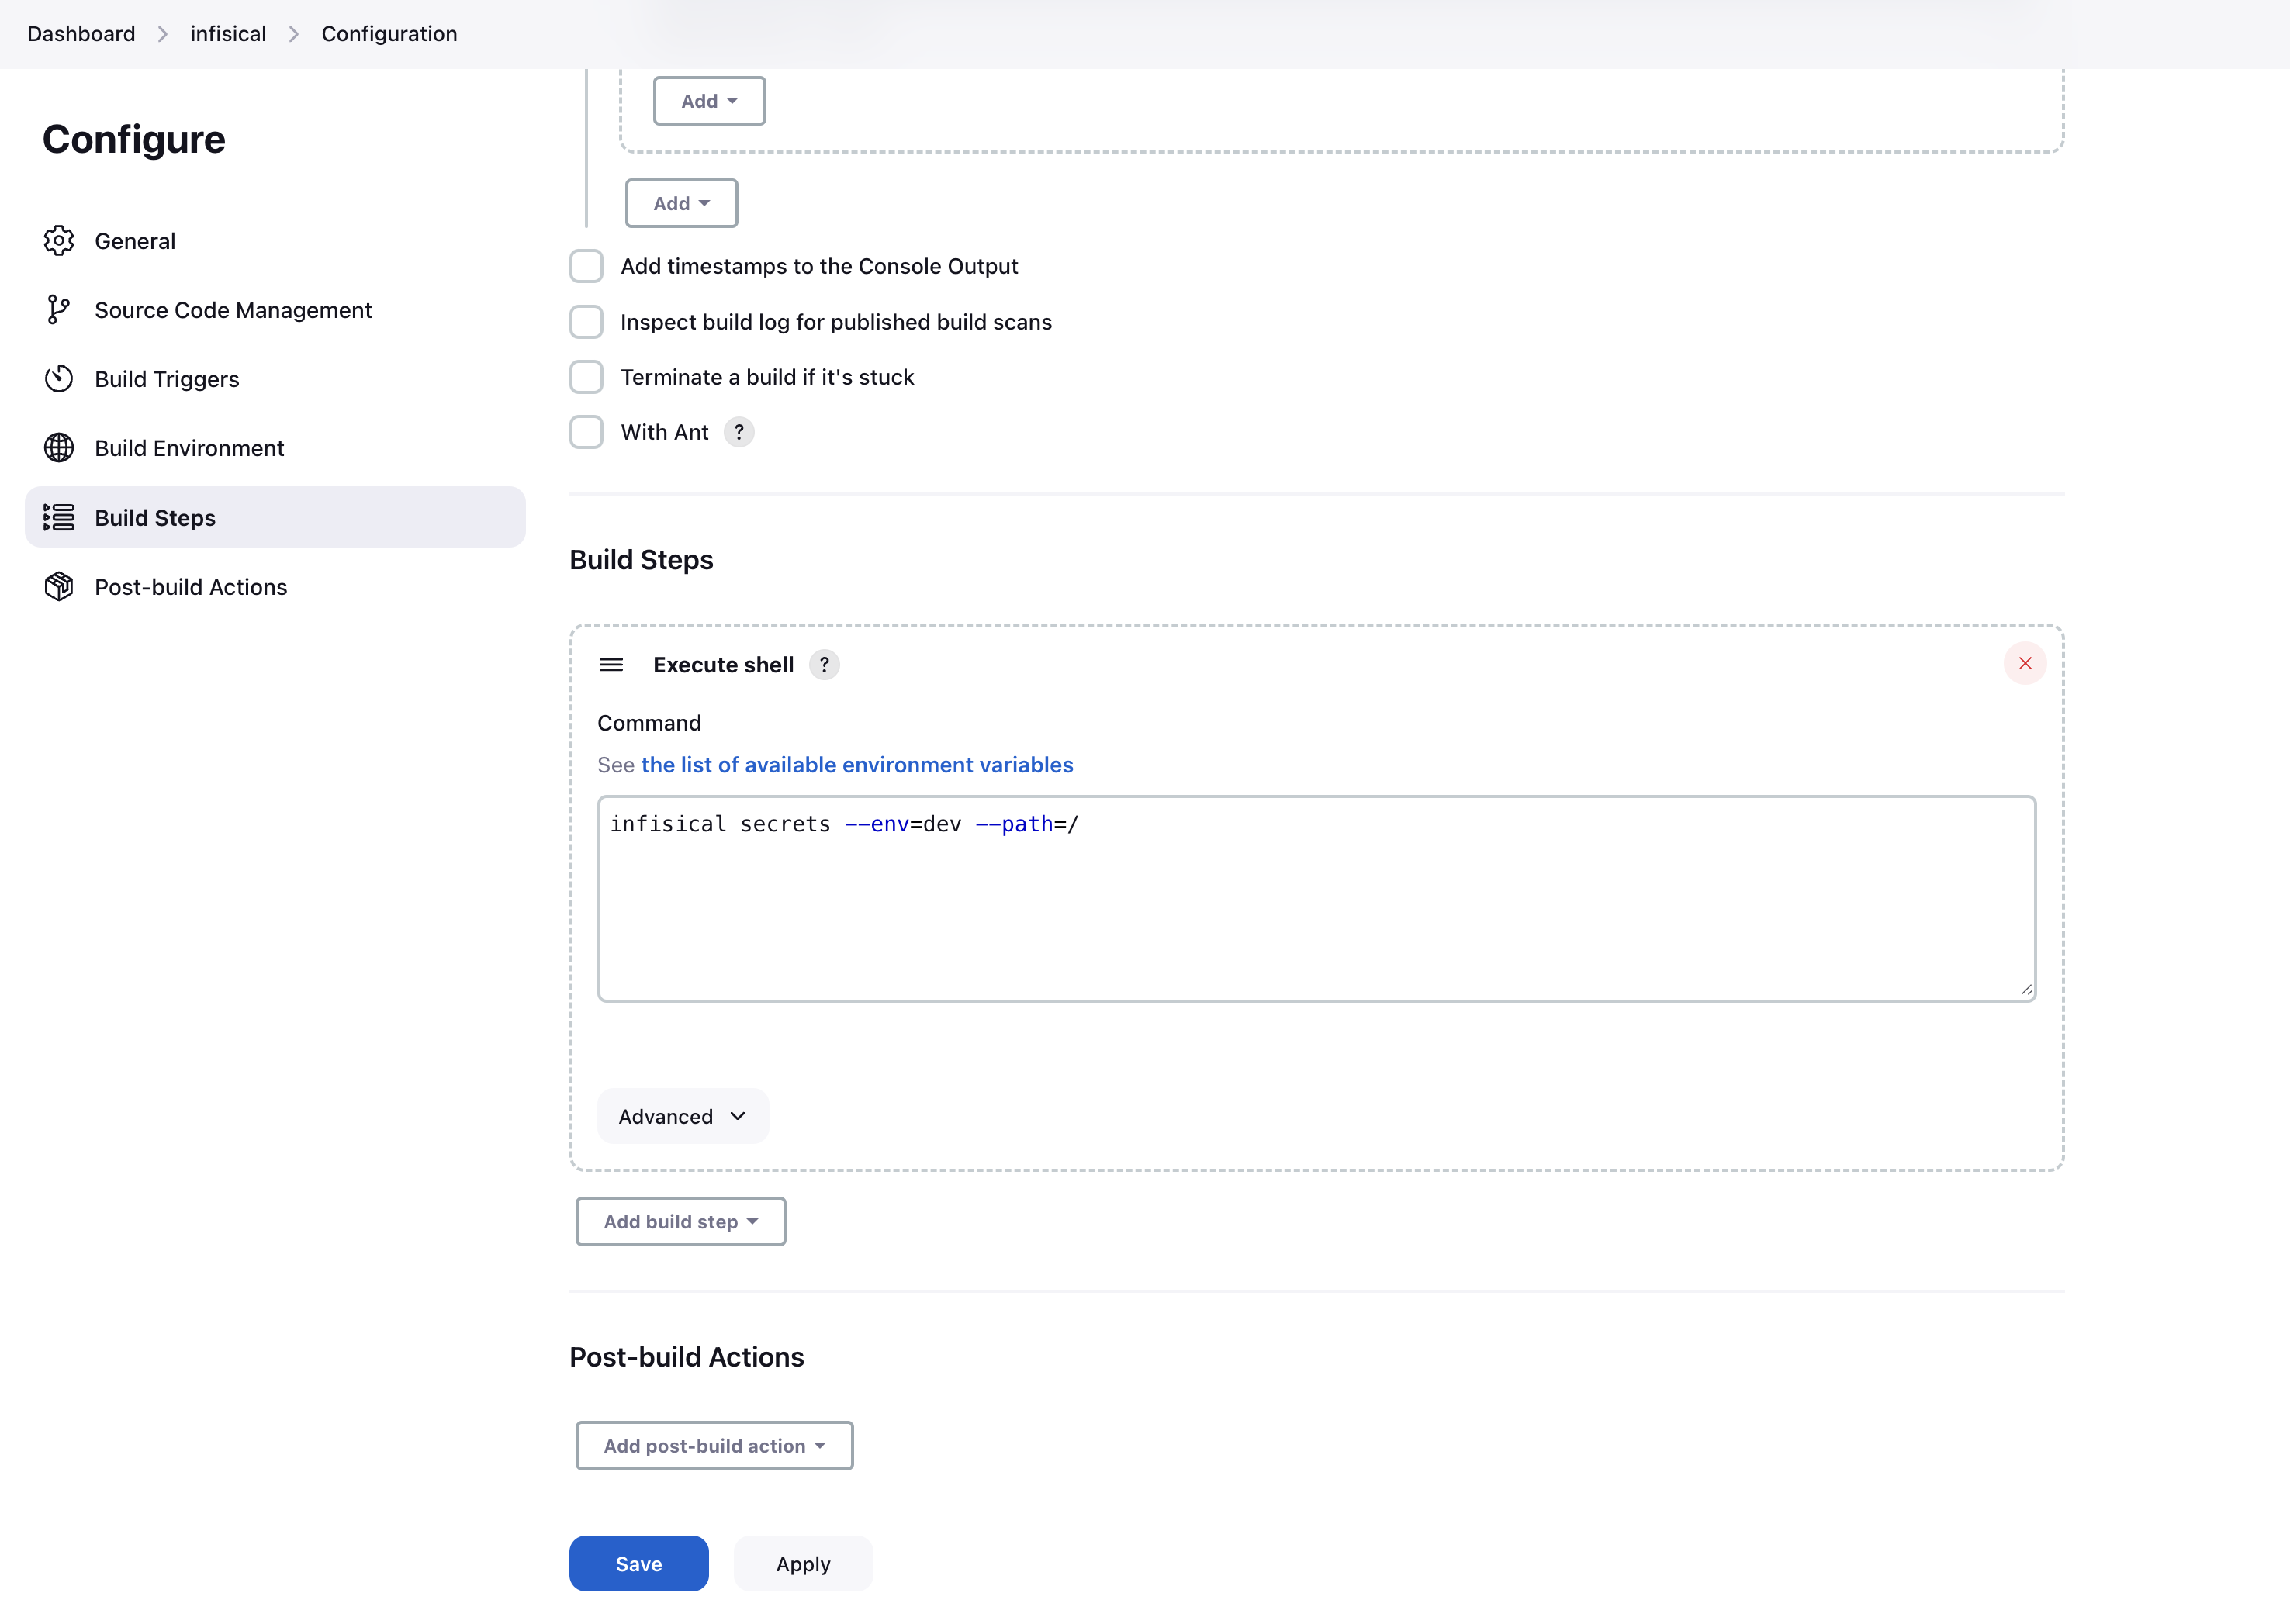
Using the Infisical Plugin in a Jenkins pipeline is very straight forward. To generate a block to use the Infisical Plugin in a Pipeline, simply to go{JENKINS_URL}/jenkins/job/{JOB_ID}/pipeline-syntax/.You can find a direct link on the Pipeline configuration page in the very bottom of the page, see image below. On the Snippet Generator page, simply configure the Infisical Plugin like it’s documented in the Configuration documentation step.Once you have filled out the configuration, press
 Generate Pipeline Script, and it will generate a block you can use in your pipeline.
Using Infisical in a Pipeline
Using the generated block in a pipeline is very straight forward. There’s a few approaches on how to implement the block in a Pipeline script. Here’s an example of using the generated block in a pipeline script. Make sure to replace the placeholder values with your own values.The script is formatted for clarity. All these fields will be pre-filled for you if you use theSnippet Generator like described in the step above.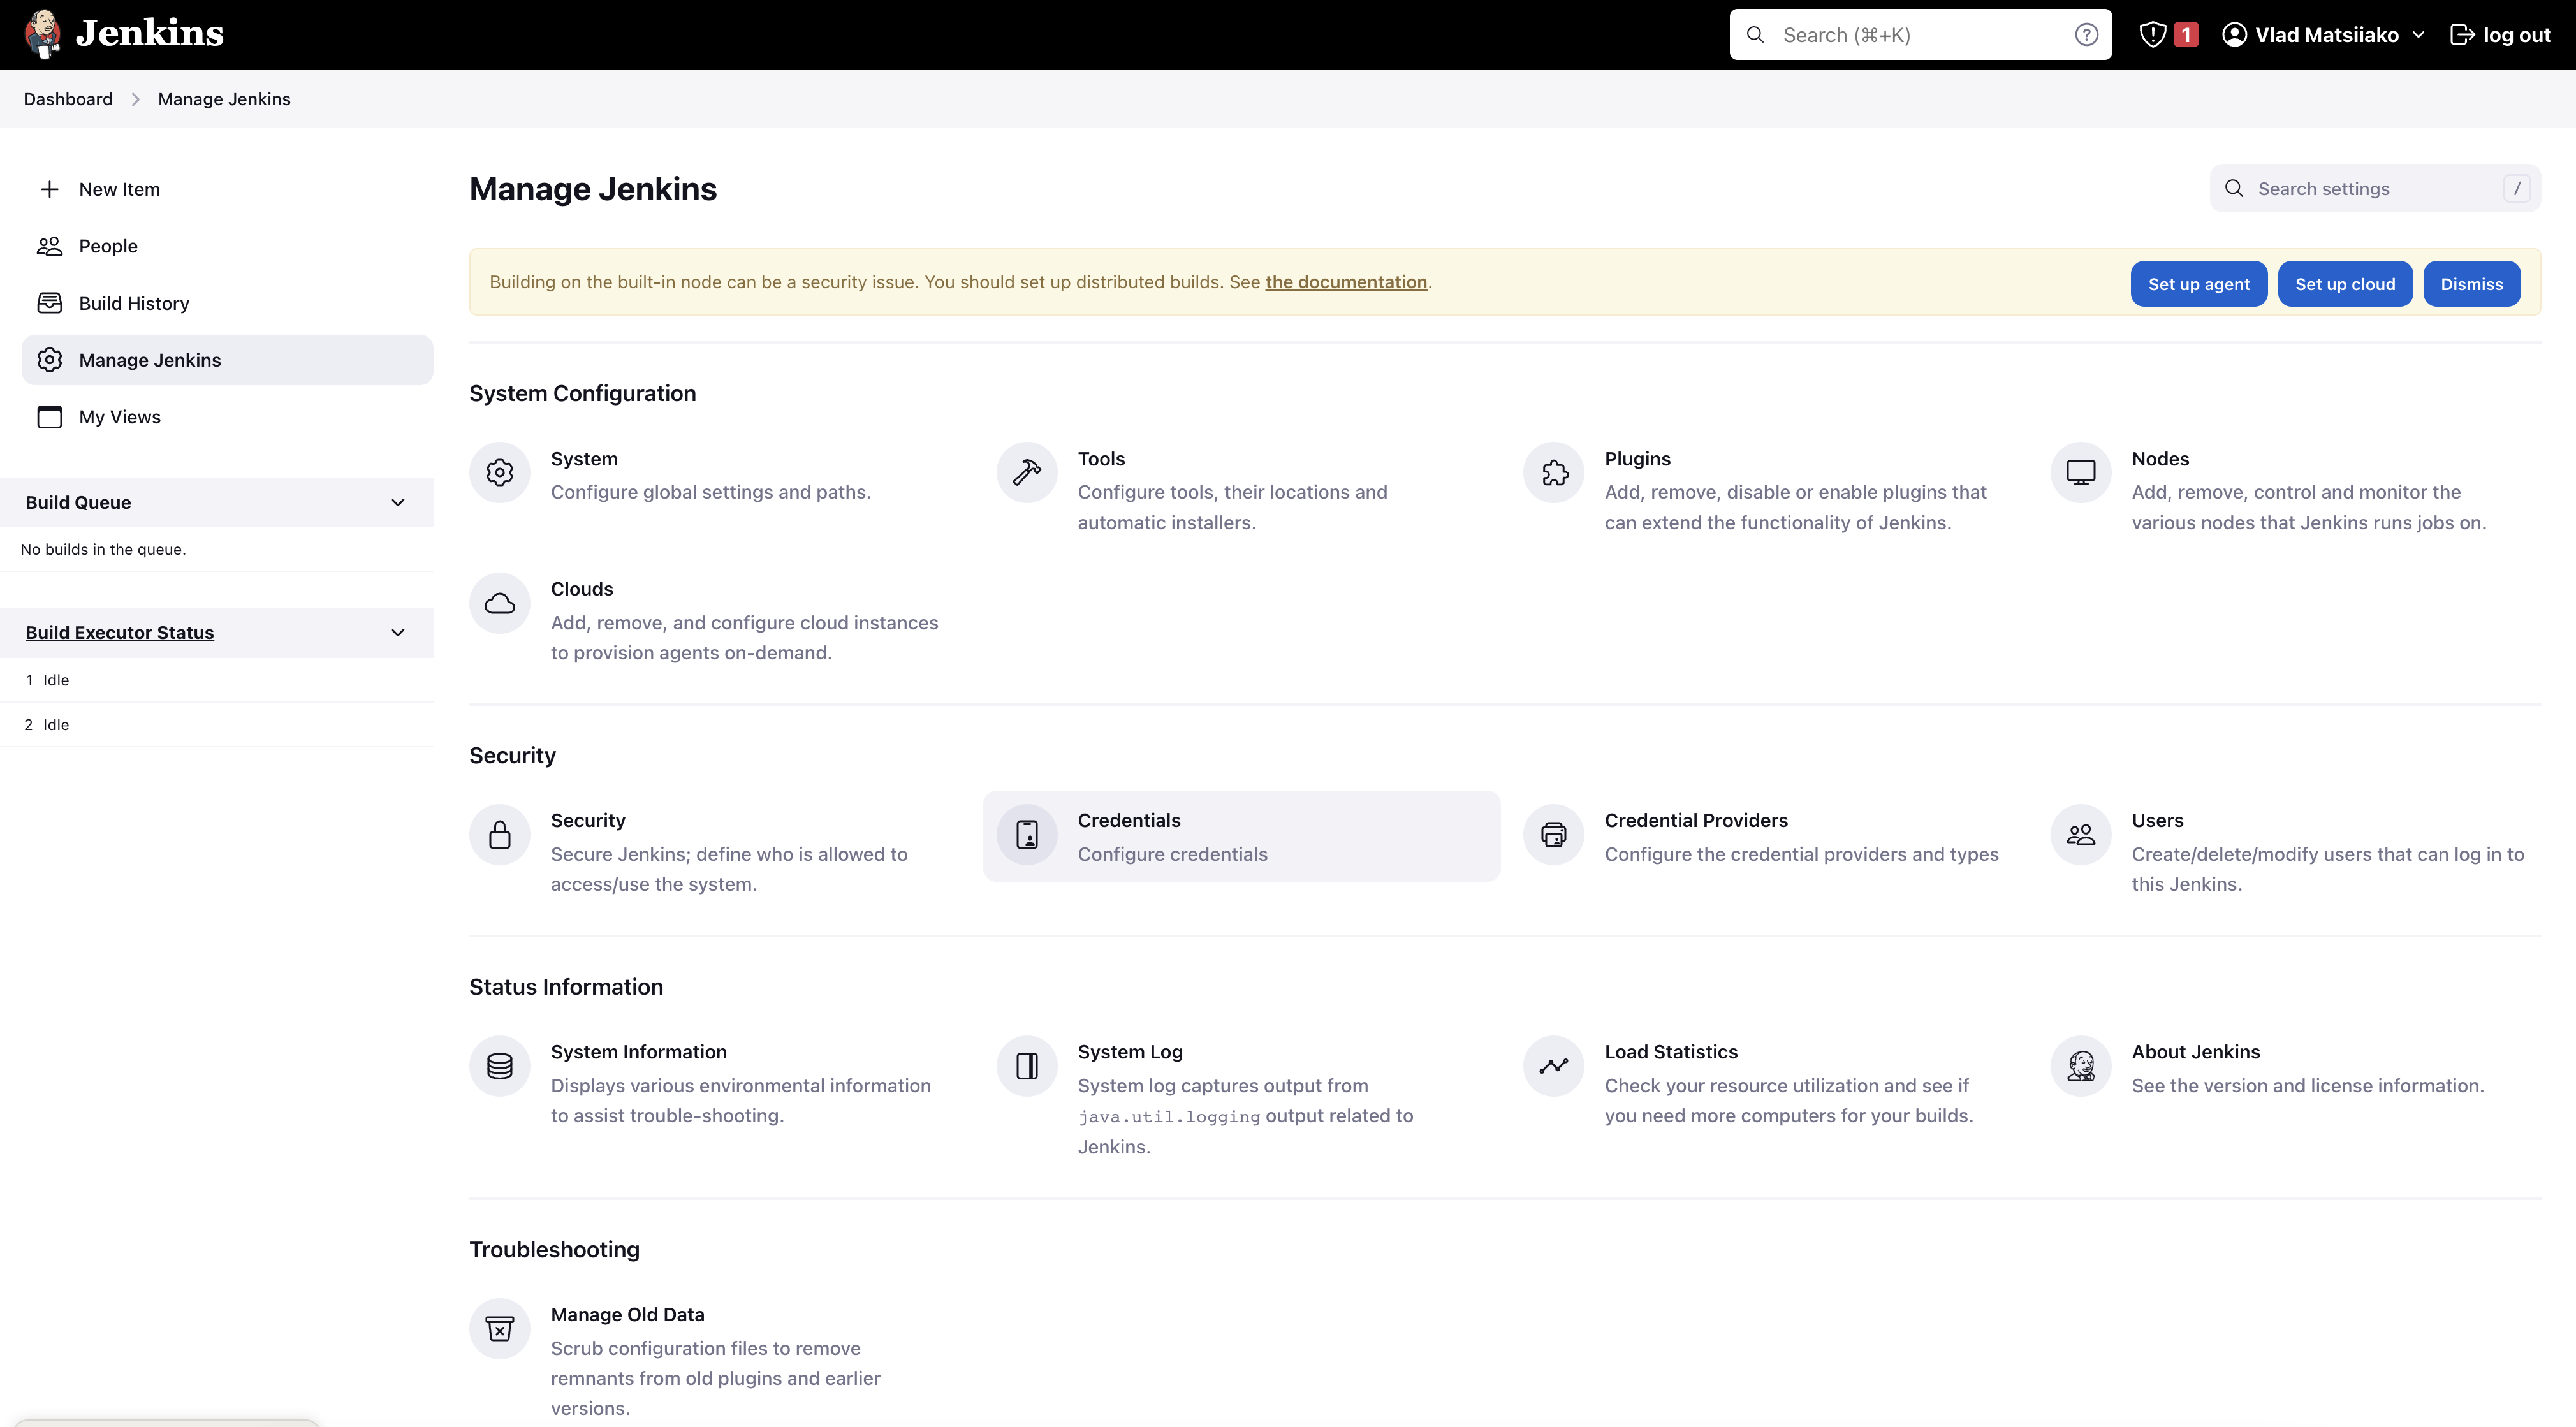

INFISICAL_TOKEN environment variable, which is configured in the pipeline, into the shell for executing commands.
There may be instances where this doesn’t work as expected in the context of running Docker commands.
However, the list of working examples should provide some insight into how this can be handled properly.